
Last updated November 2, 2026
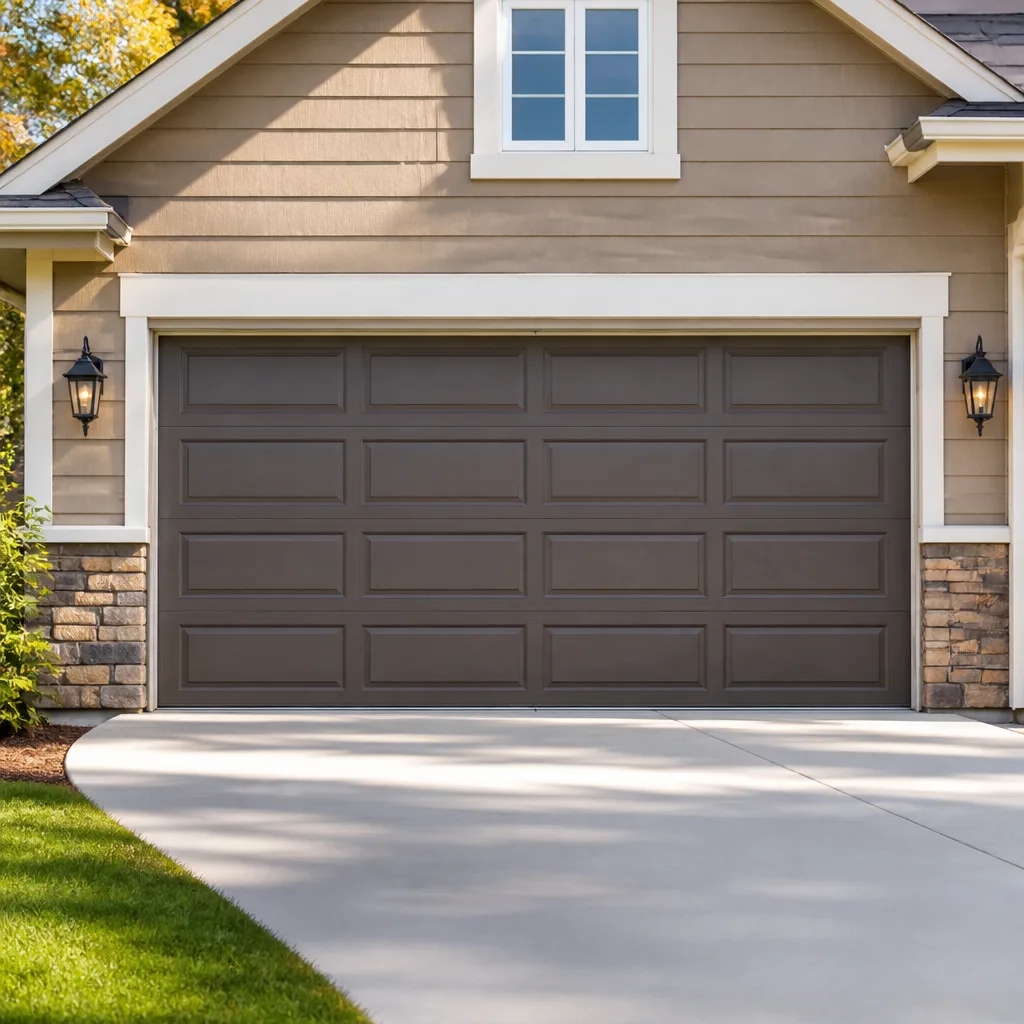 Raised-panel steel
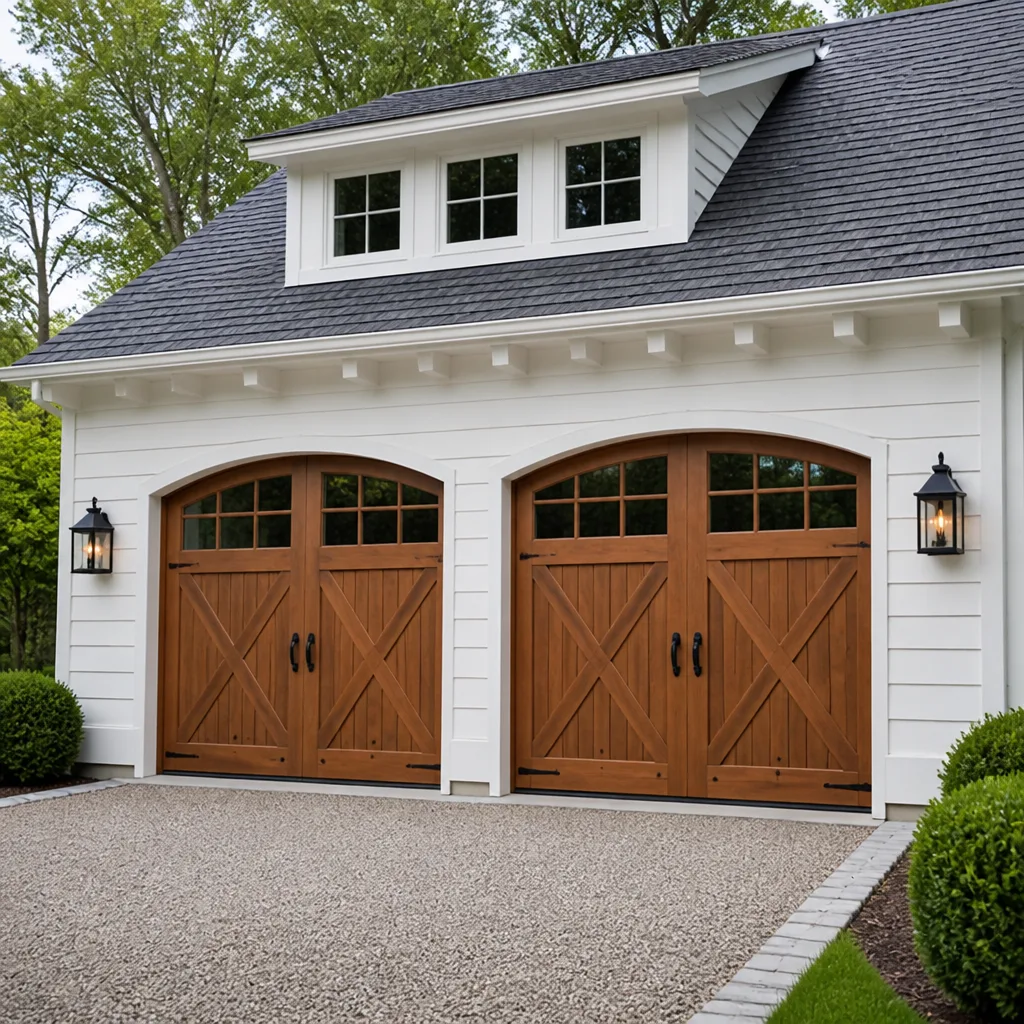 Carriage house
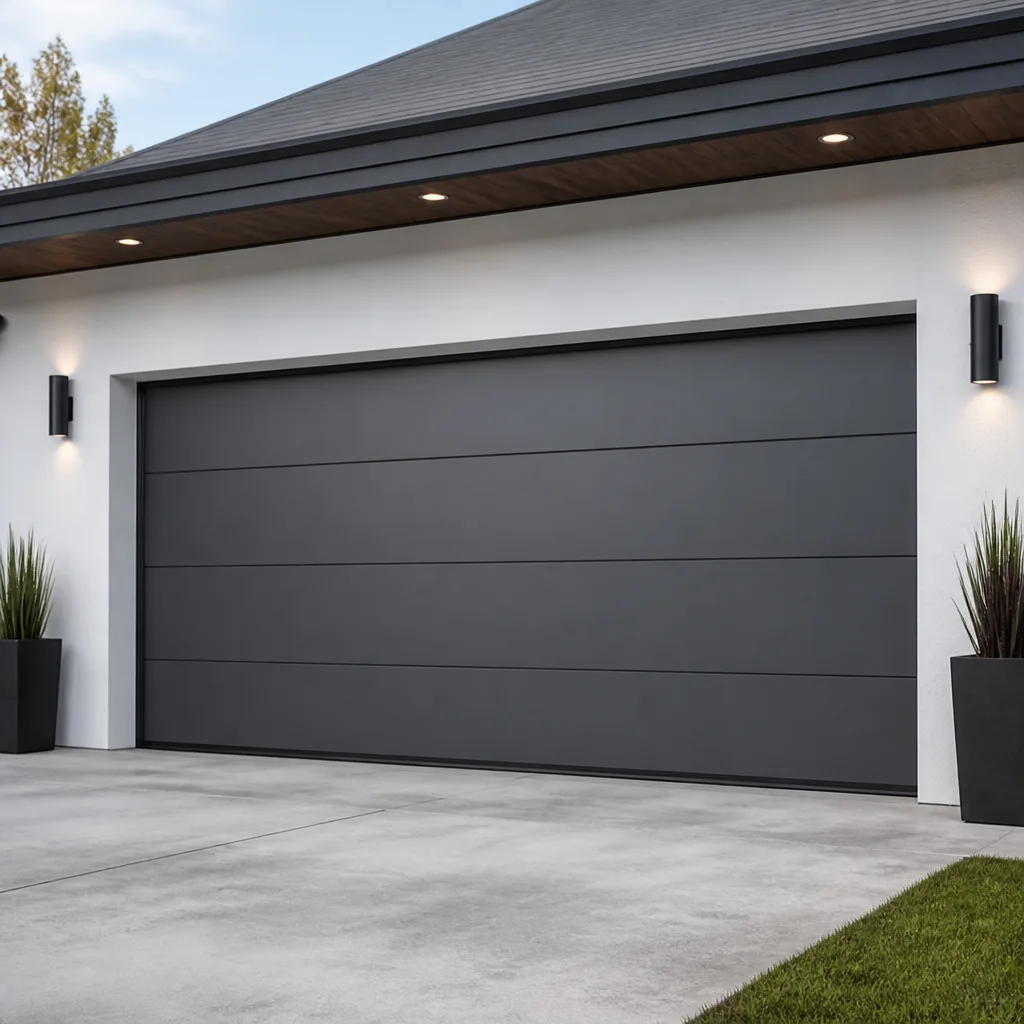 Modern flush
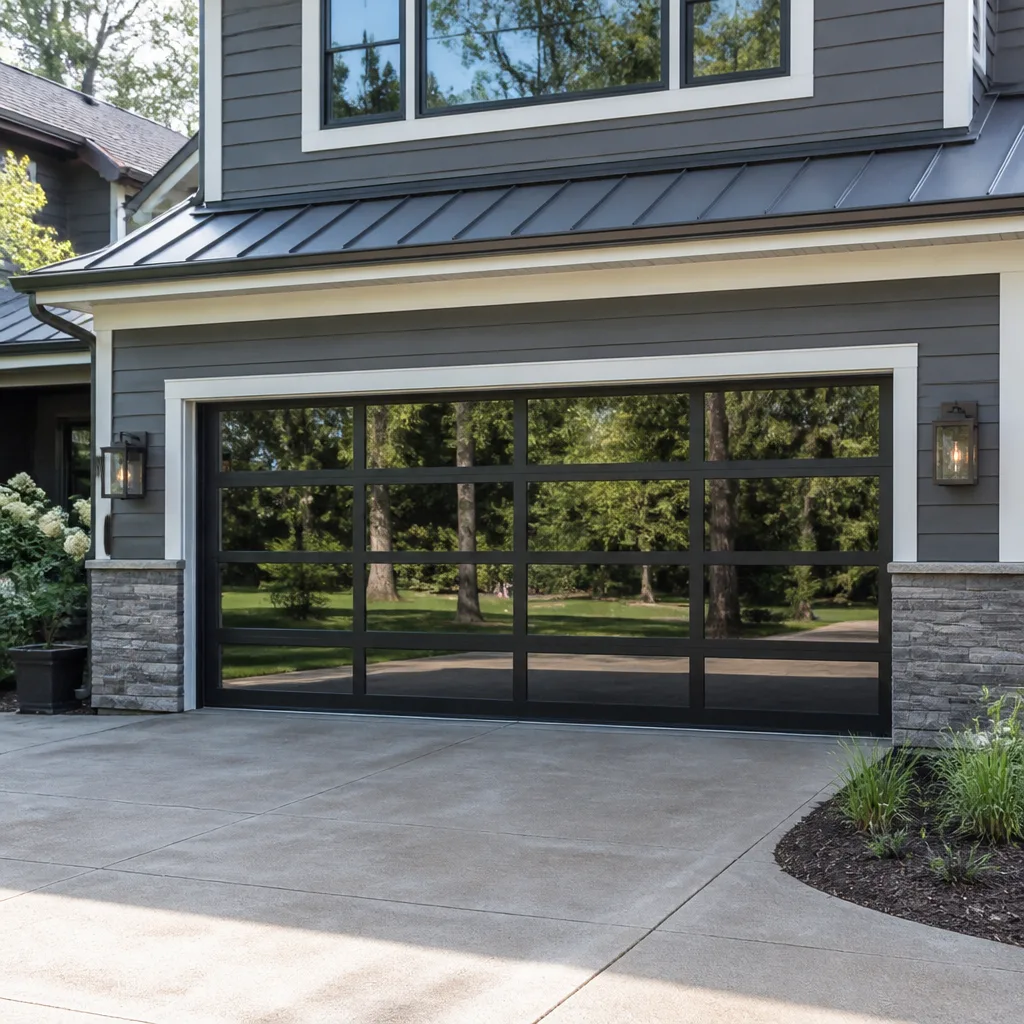 Full-view glass
 LiftMaster openers
 Chamberlain openers
Full 25-point door and opener safety check with every visit - springs, cables, rollers, tracks, and your LiftMaster or Chamberlain opener included
You get a price before we start. It does not change when the truck arrives.
Get your free estimateGarage Door Repair Troubleshooting: Common Problems and How to Fix Them
Here’s a number that surprises most homeowners: roughly 30% of garage door service calls end with a technician correcting a setting someone changed by accident. Not a broken spring. Not a failed motor. A button pressed, a lock switch flipped, a sensor nudged out of alignment. We’ve run these calls in Carmel Valley for years, and the pattern holds across every brand we service. This guide gives you a diagnostic logic tree that isolates whether your problem is mechanical, electrical, or operator error before any money changes hands, and points you to Garage Door Warning Signs: A Carmel Valley Homeowner’s Reference Guide if you want a broader safety overview. By the end, you’ll know what to check, what to leave alone, and exactly when to pick up the phone.
Quick Answer
Garage door troubleshooting follows a decision chain: confirm whether the problem is with the wall button, the remote, or the motor itself, then work through the most likely cause in that subsystem. Most issues fall into three categories: operator error (30% of calls), simple calibration or obstruction problems (40%), and genuine mechanical or electrical failures (30%). The sections below walk you through the exact logic tree a technician uses.
Styles & brands we work with
- Raised-panel steel
- Carriage house
- Modern flush
- Full-view glass
- LiftMaster openers
- Chamberlain openers
Table of Contents
- The Diagnostic Decision Tree: Wall Button, Remote, or Motor
- Testing Spring Tension Without Touching the Springs
- Reading LED Blink Codes on Five Major Opener Brands
- Why a Door Reverses for No Reason: Three Causes in Order
- The Two-Minute Visual Inspection Sequence
- A Noisy Door: What Each Sound Tells You
- Opener Runs But Door Won’t Move
- Carmel Valley Weather and the Problems It Causes
The Diagnostic Decision Tree: Wall Button, Remote, or Motor
Every garage door problem starts with one question: what happens when you press the wall button? The answer splits your issue into one of three branches, and each branch points to a different subsystem. This is the same first step a technician takes on every service call, whether it’s a LiftMaster in a Carmel Valley hillside home or a Raynor on a flat lot near the village.
Branch 1: The wall button works, but the remote doesn’t. This is never a spring problem and rarely a motor problem. It’s a signal, power, or programming issue. Check the remote battery first, then look for a lock button on the wall console. Every major brand has one: Chamberlain and LiftMaster wall consoles have a lock icon that disables remotes while leaving the wall button active. Craftsman units use a slide switch. If you pressed this by accident, which happens more often than you’d think, pressing it again restores remote function in seconds. Still not working? The remote may have lost its programming. Most openers have a learn button on the motor unit: press it, then press the remote button within 30 seconds. If the opener light blinks, the remote is paired.
Branch 2: Neither the wall button nor the remote does anything. This narrows the problem to the opener’s power supply or its control board. Check whether the outlet the opener plugs into has power. In Carmel Valley, outlets in garages are sometimes tied to a wall switch; if someone flipped that switch off, the opener is simply unpowered. If the outlet has power but the opener is dark, check for a blown fuse or tripped breaker on the unit itself. If the opener hums but the lights don’t work and nothing moves, the control board may have failed, which is a component-level repair.
Branch 3: The motor runs, but the door doesn’t move. This is the branch that separates mechanical issues from electrical ones. If you hear the motor spinning or humming but the door stays put, the problem is almost always a disconnected drive system or a broken spring. For openers with a chain or belt, check whether the chain or belt is moving. If it moves but the door doesn’t, the emergency release cord has likely been pulled, disconnecting the door from the carriage. Re-engaging it is usually a matter of pulling the release cord and running the opener until the carriage locks back onto the chain or belt. If the chain or belt isn’t moving either, the drive gear inside the opener may have stripped, especially on older LiftMaster and Chamberlain models where this is a known wear point. That’s an opener repair, not a door repair.
Testing Spring Tension Without Touching the Springs
Garage door springs are under enough tension to cause serious injury if mishandled. In our experience, the single most useful diagnostic skill a homeowner can develop is testing spring balance without ever laying a hand on the spring itself. The test takes two minutes and tells you more about your door’s mechanical health than any other single check.
Step 1: Close the door completely. Step 2: Pull the emergency release cord so the door operates manually. Step 3: Lift the door by hand to about waist height, roughly three feet off the ground. Step 4: Let go.
A door with healthy springs stays roughly where you left it. It might drift an inch or two, but it won’t fall and it won’t fly upward. A door that crashes down has failed or failing extension or torsion springs, and the force required to lift it will have shifted entirely onto you and onto the opener. A door that shoots upward has springs that are overpowered for the door’s weight, which is less common but equally hard on the opener. Neither condition is one you should attempt to correct yourself. We test spring balance on every call in Carmel Valley because it’s the cleanest indicator of whether the door is working with the opener or against it.
One more note: if your door has two springs and one breaks, the other is usually not far behind. Homeowners sometimes replace only the broken spring to save money, but that leaves a door with unbalanced tension. We always recommend replacing both springs at the same time. The labor is the same either way, and the door works correctly.
Reading LED Blink Codes on Five Major Opener Brands
Modern openers diagnose themselves. The LED light on the motor unit or the wall console blinks in specific patterns to indicate specific faults. Learning to read these codes turns a mystery problem into a parts list, and it’s where we start on most opener repair calls. Here are the codes we see most often on the brands we service:
- LiftMaster and Chamberlain (including myQ models): One blink means the safety sensors are misaligned or blocked. Two blinks mean a wiring issue at the sensors. Four blinks mean the sensors are misaligned. Five blinks means the motor overheated and needs to cool down. Six blinks means the logic board is failing.
- Genie: A red light that blinks twice means the safety sensors are blocked or misaligned. A steady red light with no response means the wall console wiring may be shorted. Genie openers with a blue LED show sensor alignment status directly.
- Craftsman: Craftsman openers share blink-code logic with Chamberlain because the boards are similar. One blink signals a sensor issue. Two blinks signal a short in the sensor wires.
- Wayne Dalton: Wayne Dalton’s iDrive models use a different system: a green light that flashes means the opener is in programming mode. A red light that stays on indicates a mechanical obstruction in the drive track.
- Raynor: Raynor openers are built by Chamberlain for many models, so the blink codes mirror Chamberlain and LiftMaster. A blinking light combined with a clicking relay sound usually points to a failing capacitor or logic board.
The most common code across every brand is the one-blink sensor code. In Carmel Valley, we see it constantly, often because a rake, a bike, or a stack of boxes shifted against a sensor bracket. Straightening the sensor and clearing its lens fixes it in under a minute. If the code persists after sensors are aligned, the sensor itself has likely failed, and replacements are inexpensive.
Why a Door Reverses for No Reason: Three Causes in Order
A door that starts closing and then reverses before touching the floor feels like a haunted house problem. It isn’t. In almost every case we see in Carmel Valley, the cause is one of three things, and checking them in order will isolate it quickly.
Cause 1: The safety sensors have lost alignment or have a dirty lens. The sensors at the bottom of each door track shoot an invisible beam across the opening. If anything breaks that beam, the door reverses as a safety measure. A misaligned sensor, a dusty lens, or even direct afternoon sunlight hitting the sensor can trip the circuit. Wipe the lens with a dry cloth and check the small LED on each sensor: both should be solid, not flickering. In Carmel Valley garages that face west, late afternoon sun is a surprisingly common culprit.
Cause 2: The close-force setting is too low. The opener has a dial or digital setting that controls how much force it applies when closing. If that setting drifted low or was adjusted when the door was newly lubricated, the opener may misread normal resistance as an obstruction. Adjusting the close force up in small increments often resolves the reversal. On LiftMaster and Chamberlain units, this is done through the wall console menu. On older Craftsman units, it’s a screw adjustment on the motor body.
Cause 3: The travel limits have shifted. The opener’s travel limit tells it where the floor is. If the limit is set too low, the opener thinks it has hit an obstruction when it actually hits the ground, and it reverses. Reprogramming the travel limit on most modern openers takes two minutes with the wall console. If the door reverses at a random height that isn’t the floor, the problem is almost always sensors or force, not limits.
The Two-Minute Visual Inspection Sequence
Before touching any hardware, we run a visual inspection in a specific order. This catches most problems without any tools, and it’s the same sequence our technicians use on a Carmel Valley service call. Run through this whenever the door acts up:
- Look at the door itself, closed. Is it sitting square in the opening? A door that hangs lower on one side is either out of balance or has a track problem.
- Look at the rollers in the tracks. Are all rollers in the track, or has one popped out? A popped roller is a fast fix, but running the door with it out can damage the track and the panel.
- Look at the springs. On a door with torsion springs above the opening, is there a visible gap in the spring? A two-inch gap means the spring has snapped. On extension springs alongside the track, is one spring dangling or stretched?
- Look at the cables. Are both lift cables taut and seated on their drums? A slack cable usually means a broken spring, even if the spring itself looks intact.
- Look at the sensors. Are the sensor LEDs lit? Are the units pointed at each other, roughly the same height, with no debris blocking the path?
- Look at the opener rail. Is the chain or belt taut, or is it sagging? A sagging chain can skip and jerk the door.
- Look at the floor under the door. Any new obstruction, even a half-inch rock or a shifted floor mat, will trip the reversal circuit.
This sequence takes two minutes, and it identifies the problem outright on a meaningful share of calls. If you spot a broken spring, a severed cable, or a bent track, stop there and call us rather than operating the door further.
A Noisy Door: What Each Sound Tells You
Noise is diagnostic. A garage door that grinds, squeals, rattles, or pops is telling you where the friction or the failure lives. Here’s what each sound usually means, based on calls we’ve run across Carmel Valley’s mix of attached and detached garages:
- Squealing or screeching: Dry rollers. Metal rollers on metal track are the leading cause. Nylon rollers quiet the door significantly if you decide to replace them, but a silicone lubricant will usually quiet the squeal for now. Don’t use WD-40, which attracts dust and dries out.
- Grinding or metallic scraping: A roller that’s seized and sliding instead of rolling, or a track that’s been knocked out of alignment and is making contact with the door edge. Grinding that persists after lubrication is a sign of track or roller wear.
- Rattling while the door moves: Loose hardware. Garage doors cycle thousands of times a year, and bolts back out. The rattle is most noticeable on stamped steel doors. Tightening track brackets and hinge bolts usually resolves it.
- Popping or snapping from the springs: This is the one sound that should stop you cold. A popping torsion spring is binding on itself. A loud snap is a spring letting go, which is dangerous if you’re standing near it. If you hear either sound, don’t operate the door.
- Thumping or banging when the opener runs: On chain-driven openers, this often means a loose chain slapping the rail. On belt-driven openers, a thump on each cycle can mean the belt needs tensioning or the motor carriage is wearing.
For a Wayne Dalton or Raynor door that’s seen a decade of use, noise is usually cumulative wear. We can quiet a door dramatically with a combination of lubrication, hardware tightening, and roller replacement, and that work is far cheaper than replacement.
Opener Runs But Door Won’t Move
This symptom deserves its own section because it’s one of the most common calls we get in Carmel Valley, and the cause is rarely obvious to the homeowner. When the motor runs but the door stays put, the failure is in the connection between the opener’s drive and the door itself. Here’s what that means, in the order we check:
First, check the emergency release. The red cord hanging from the opener rail disconnects the carriage from the chain or belt. If it’s been pulled, the opener will cheerfully run up and down the rail while the door stays exactly where it is. Pulling the cord again and running the opener until the carriage re-engages is the fix. If you’re not sure whether the carriage is seated, tap the wall button and watch whether the carriage moves with the chain or belt. If the chain moves and the carriage doesn’t, re-engagement is the fix.
Second, check the chain or belt itself. If the chain moves but the carriage stays still, look for a broken chain link or a stripped sprocket. Older LiftMaster and Genie openers use a nylon drive gear inside the unit. When it strips, which it does after years of use, the motor spins but the gear isn’t there to transfer motion. The motor will make a buzzing or rapid clicking sound. This is a component-level opener repair we handle regularly, and the parts are typically available same-day for most major brands.
Third, confirm the springs haven’t failed. A door with a broken spring is heavy. Some openers strain, reverse, and refuse to lift it, while others will run but the door won’t budge because the lift force and the door weight are too far out of balance. If the opener runs and the carriage is solidly attached, the springs are the next place to look. The balance test earlier in this guide will confirm.
Carmel Valley Weather and the Problems It Causes
Carmel Valley’s climate is mild enough that rust rarely kills a door, but it has its own failure patterns. The valley’s dry summers mean fine dust works into tracks and rollers, which increases wear on older metal roller bearings. The winter marine layer brings damp mornings, which makes unlubricated springs and wheels stiffen up and squeal until the air dries out. Neither condition is fatal, but both reward regular maintenance: blowing out the tracks with compressed air a couple times a year, and applying a silicone lubricant to rollers and hinges.
Temperature swings between warm days and cool nights also affect spring tension, though less dramatically here than in colder climates. A door that works perfectly on a September afternoon in Carmel Valley may hang or stall slightly on a February morning, especially if the springs are near the end of their service life. That’s an early warning sign worth paying attention to. We’ve also seen coastal-adjacent homes in Carmel Valley develop corrosion on opener logic boards faster than inland homes, a function of salt air and damp garages. A dehumidifier in a garage that gets damp overnight is a cheap insurance policy for the opener’s electronics.
For homes in the hilly parts of Carmel Valley, doors on slopes tend to work harder. A door on a slightly unlevel surface puts uneven load on the springs and the opener’s gear, and the wear shows up sooner. It’s one reason we recommend a spring balance test once a year, whether or not anything appears wrong.
Common Mistakes to Avoid
- Replacing the remote before checking the lock button. The lock feature on LiftMaster, Chamberlain, and Craftsman wall consoles disables remotes entirely. It’s the most common false alarm we encounter, and a new remote won’t fix a locked opener.
- Lubricating the belt or the track. Belt-driven openers don’t need belt lubrication, and tracks should never be greased. Grease holds dust and grit, which increases roller wear. Lubricate the rollers, hinges, and springs, not the track.
- Adjusting spring tension without training and the right tools. Torsion springs store dangerous energy, and a broken spring under tension can cause serious injury. Spring work is not a DIY job, and every reputable tech will say so.
- Ignoring a door that’s only slightly out of balance. A small imbalance today means uneven spring fatigue tomorrow. The opener compensates until it can’t, and the failure usually happens at the worst possible time.
- Replacing an opener without checking the door first. A new opener on a door with failing springs or bad rollers will fail sooner than the old one did. The door and the opener are a system, and the weak link wins.
- Forgetting the manual disconnect in an emergency. If the power goes out in Carmel Valley, the emergency release cord is the only way to open the door. It’s worth knowing where yours is before you need it.
- Calling for a full replacement without knowing the cause. A surprising number of doors that get replaced were repairable. If a contractor recommends replacement, ask what specifically failed and what repair would cost.
See the difference
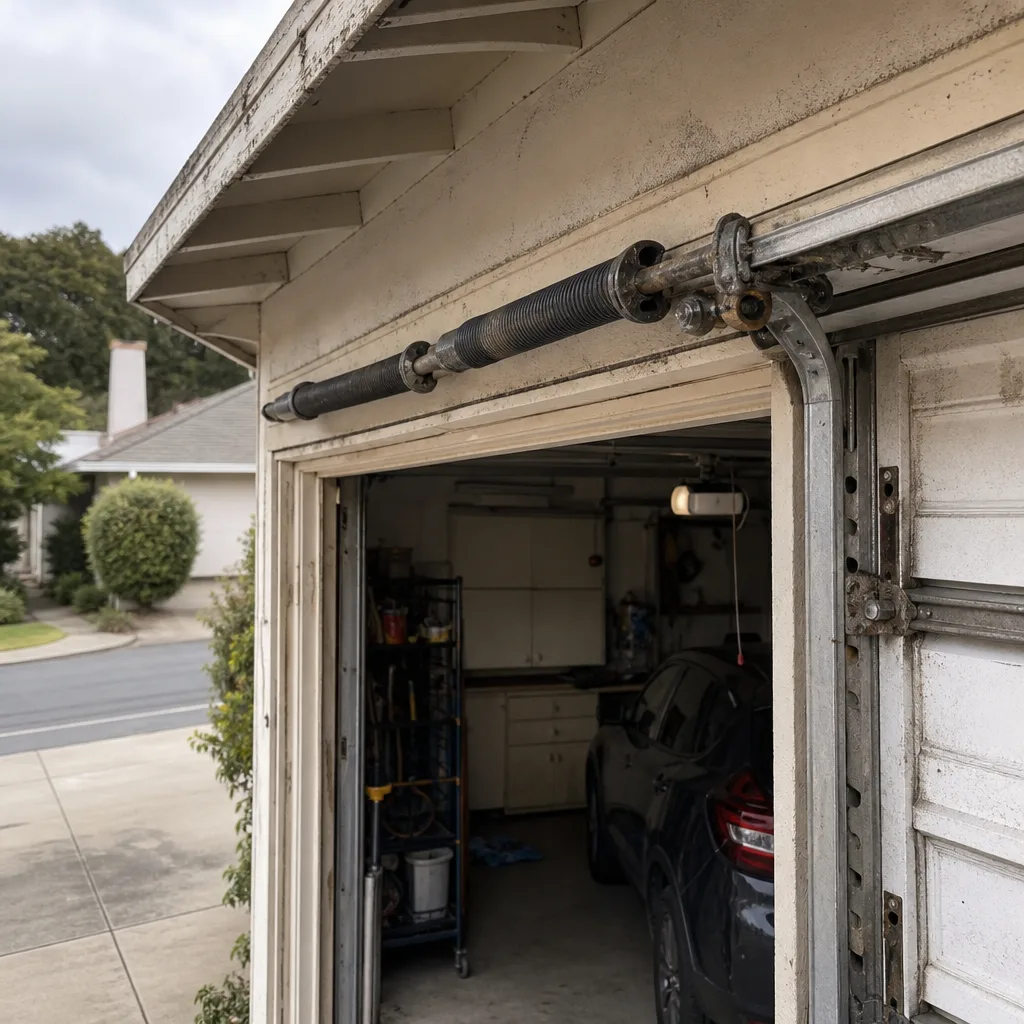 Before
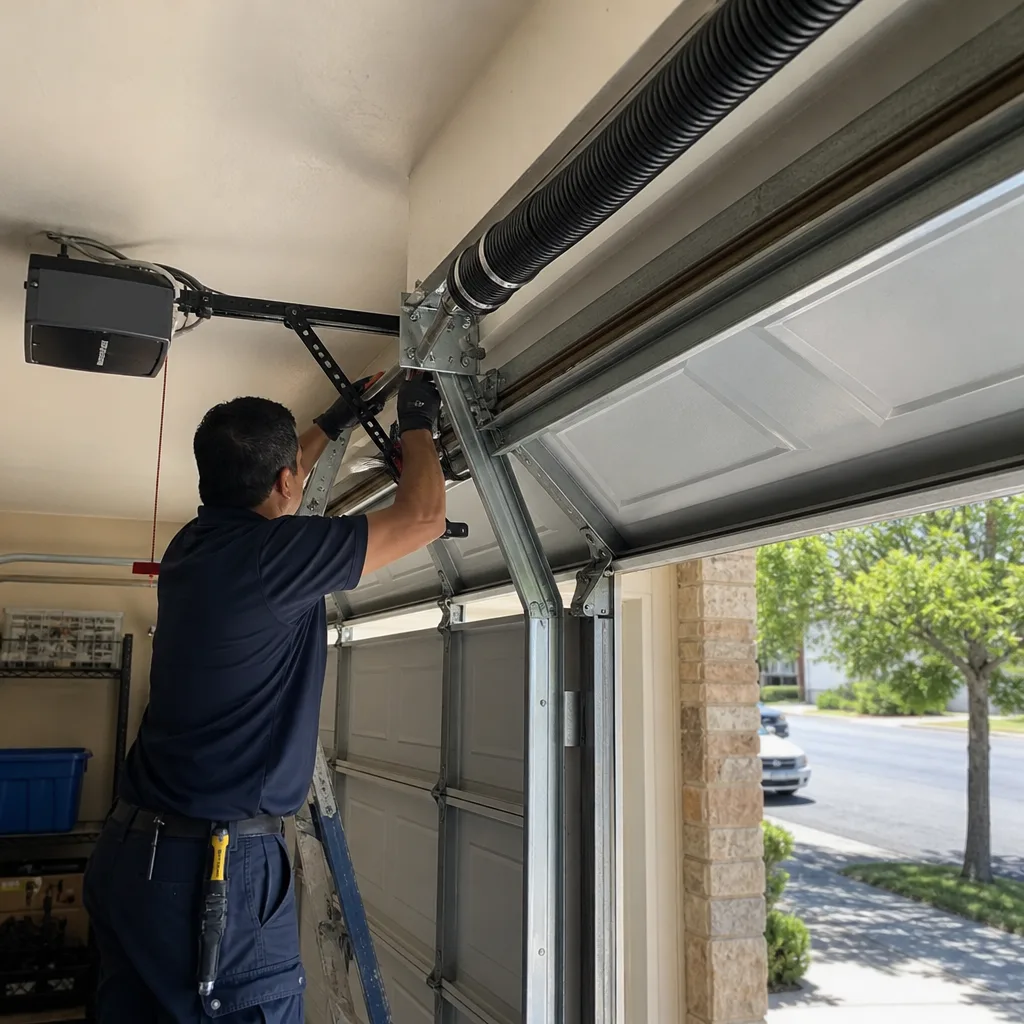 After
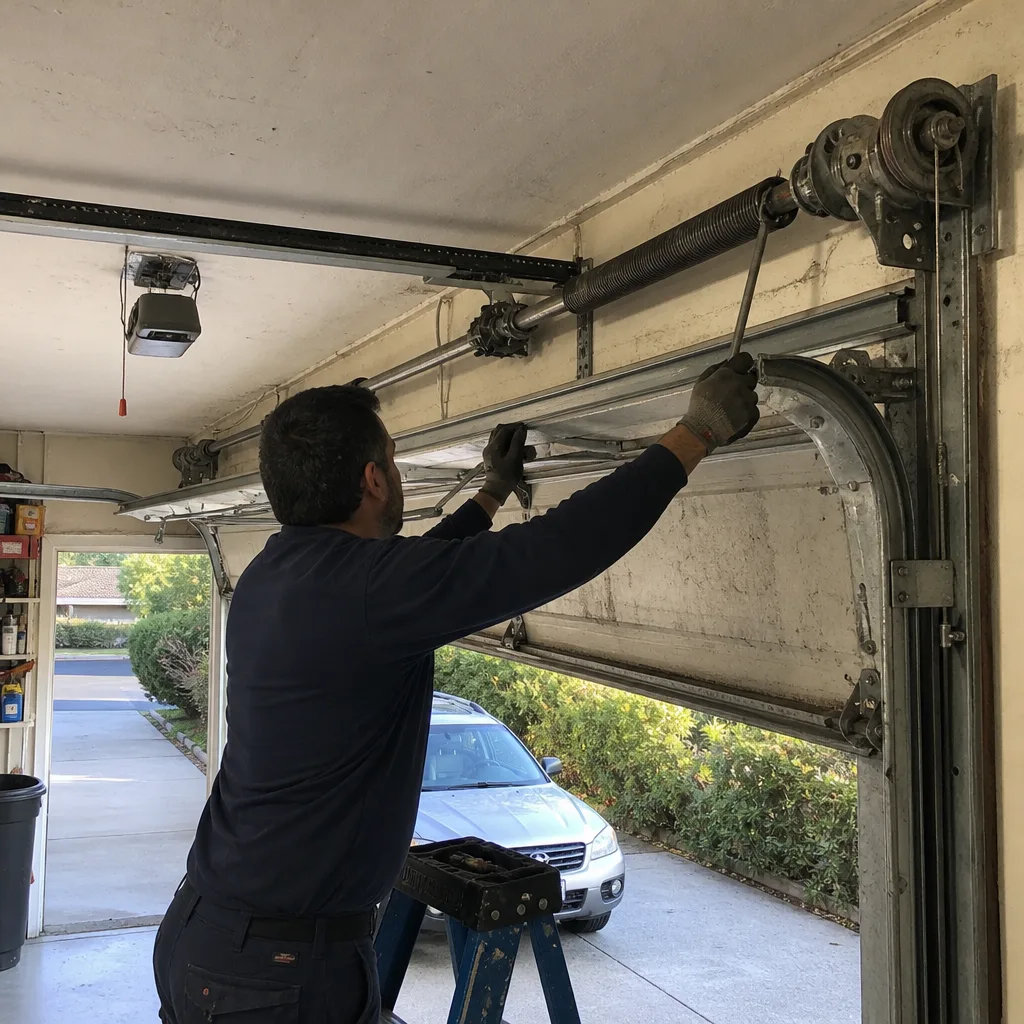 Before
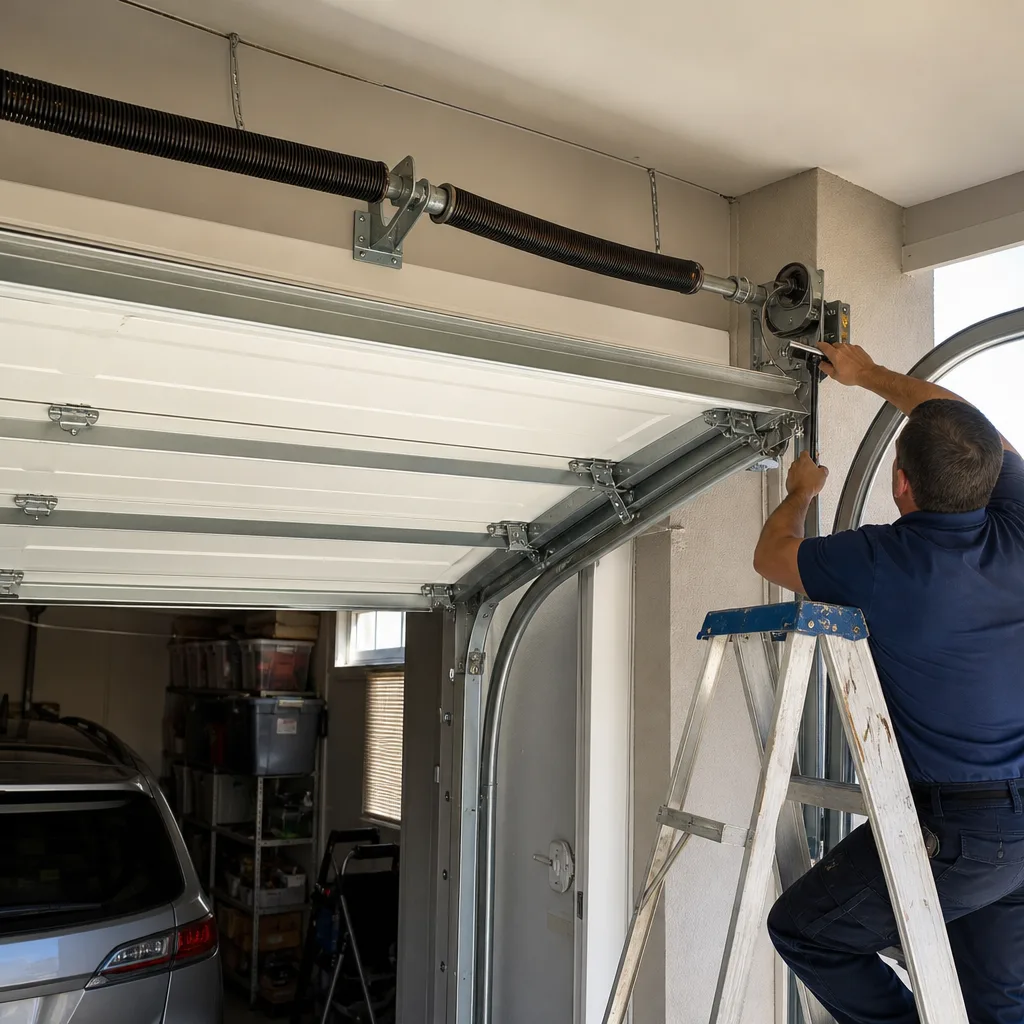 After
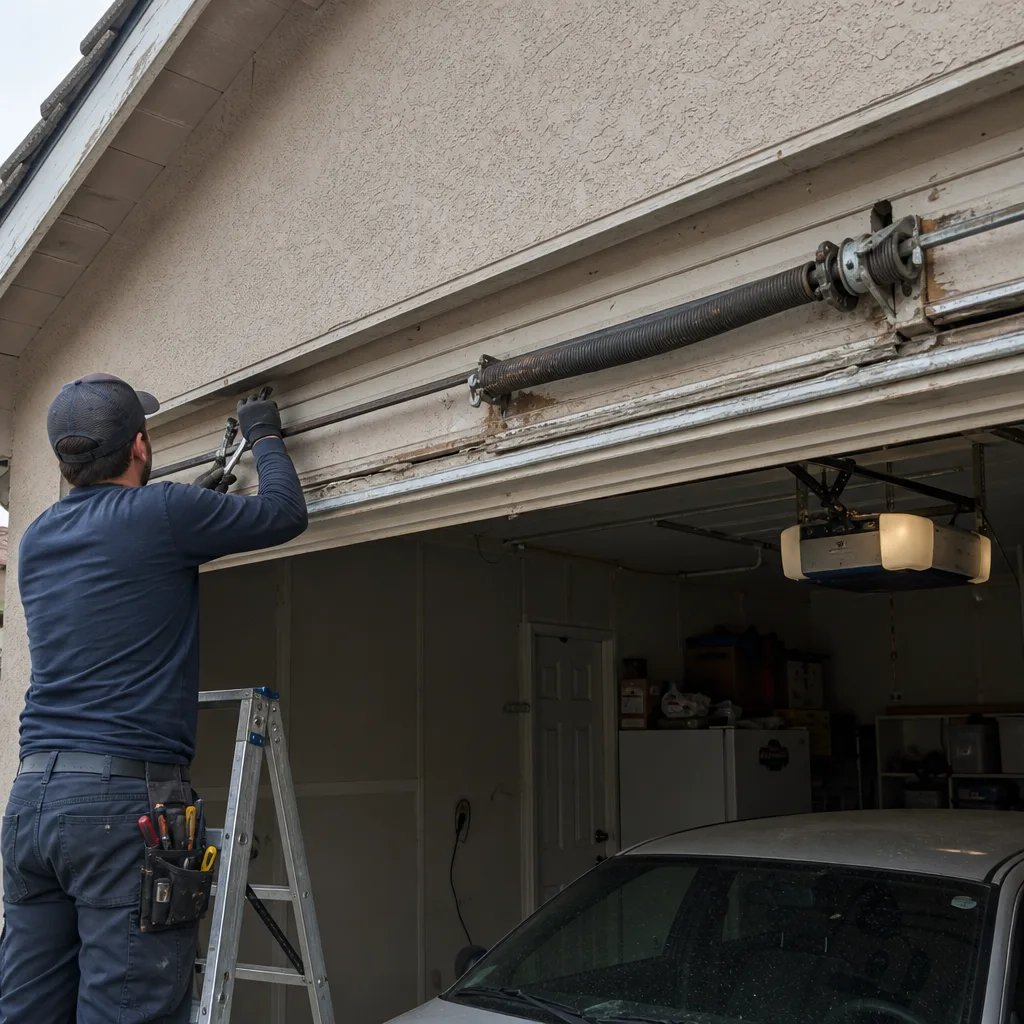 Before
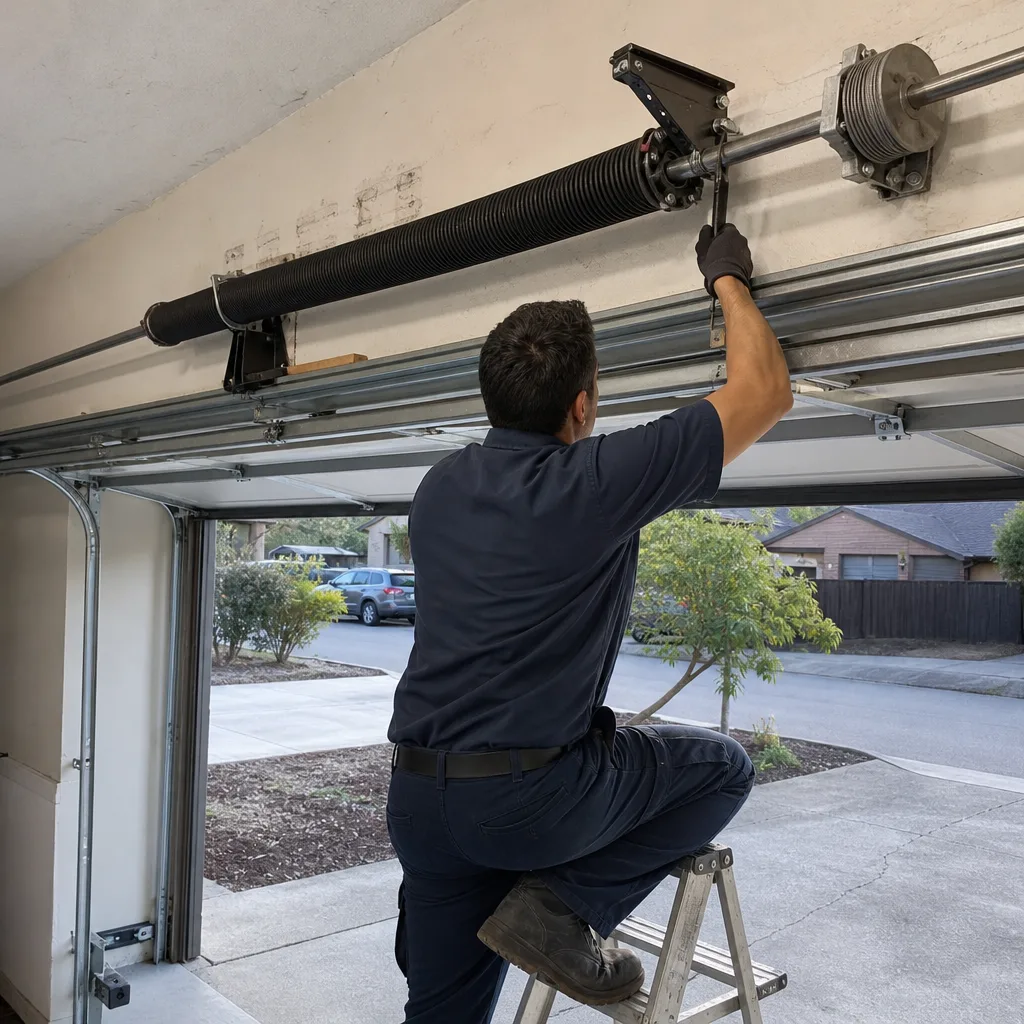 After
When to Call a Professional
Some problems are safe to investigate, and some are not. If you have a broken spring, a frayed or severed cable, a bent track, a door off its hinges, or an opener making a loud snapping sound, stop using the door and call a professional. High-tension springs and cables are genuinely dangerous to work on without training and proper tools. If your door is older and hasn’t been serviced in years, a professional assessment is also worthwhile even if nothing has broken yet. For Carmel Valley homeowners, Garage Door Repair in Carmel Valley from Bluewater Garage Door Service includes a full diagnostic, and we’ll tell you honestly whether a repair or replacement makes sense. We work across LiftMaster, Chamberlain, Genie, Clopay, Amarr, Wayne Dalton, Craftsman, and Raynor, so your equipment is never outside our scope. Call (833) 349-4780 for a free estimate.
Frequently Asked Questions
A clicking opener with no movement usually means the motor’s drive gear has stripped or the carriage has disengaged from the rail. Check the emergency release cord first; if the carriage is engaged and the clicking continues, the drive gear is likely worn, and we can replace it in a single visit for most major brands.
Spring replacement in Carmel Valley typically runs between $180 and $340 depending on spring type, door weight, and whether one or both springs are replaced. We always quote a firm price before any work begins. Call (833) 349-4780 for an exact quote on your door.
Most opener repairs, including drive gear replacement, sensor replacement, and programming issues, can be completed the same day because we carry parts for LiftMaster, Chamberlain, Genie, Craftsman, Wayne Dalton, and Raynor openers on the truck. Garage Door Opener Repair in Carmel Valley is one of our core services, and the price is always quoted and agreed before we start.
Intermittent operation is usually caused by a weak remote battery, a failing capacitor in the opener, a sensor that loses alignment periodically, or a wall console with a failing switch. Ruling out the remote battery is the place to start, and if the problem persists, a diagnostic visit will isolate the cause quickly.
That depends on the condition of the panels, tracks, springs, and opener. In our experience, many doors with a single failed component are worth repairing. If the panels are cracked or rotted, the tracks are bent, and the springs are old, replacement may cost less over the long run. We’ll give you a straight answer and don’t default to replacement.
We work on eight of the most common residential garage door and opener brands: LiftMaster, Chamberlain, Genie, Clopay, Amarr, Wayne Dalton, Craftsman, and Raynor. If you need a new door, we install Clopay, Amarr, Wayne Dalton, and Raynor products. Garage Door Installation in Carmel Valley is handled by the same team, which means one call covers repair, opener work, and full replacement.
The Bottom Line
Garage door problems fall into categories: operator error, calibration issues, mechanical failures, and electrical faults. The diagnostic tree in this guide walks you through the most common scenarios, and the two-minute visual inspection catches most issues before you touch a tool. Spring failure and cable damage are the two problems that warrant an immediate stop and a professional call. For anything beyond your comfort level, Bluewater Garage Door Service home offers free estimates in Carmel Valley, and our technicians cover the full system, from the door itself to the opener electronics. One call at (833) 349-4780 covers the repair, the opener, or a new installation if the time comes.
Written by the team at Bluewater Garage Door Service, serving Carmel Valley since 2013. For more guides & resources, visit our blog.