
Last updated November 2, 2026
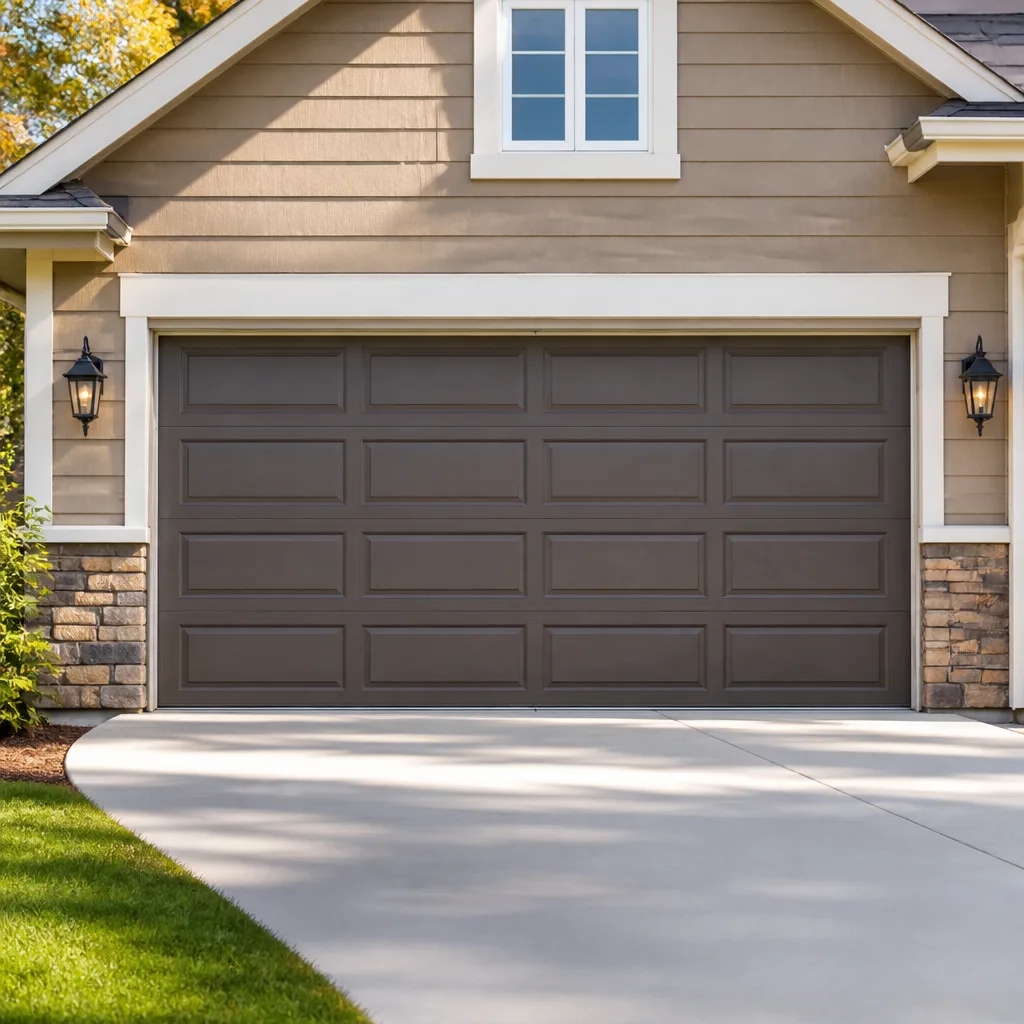 Raised-panel steel
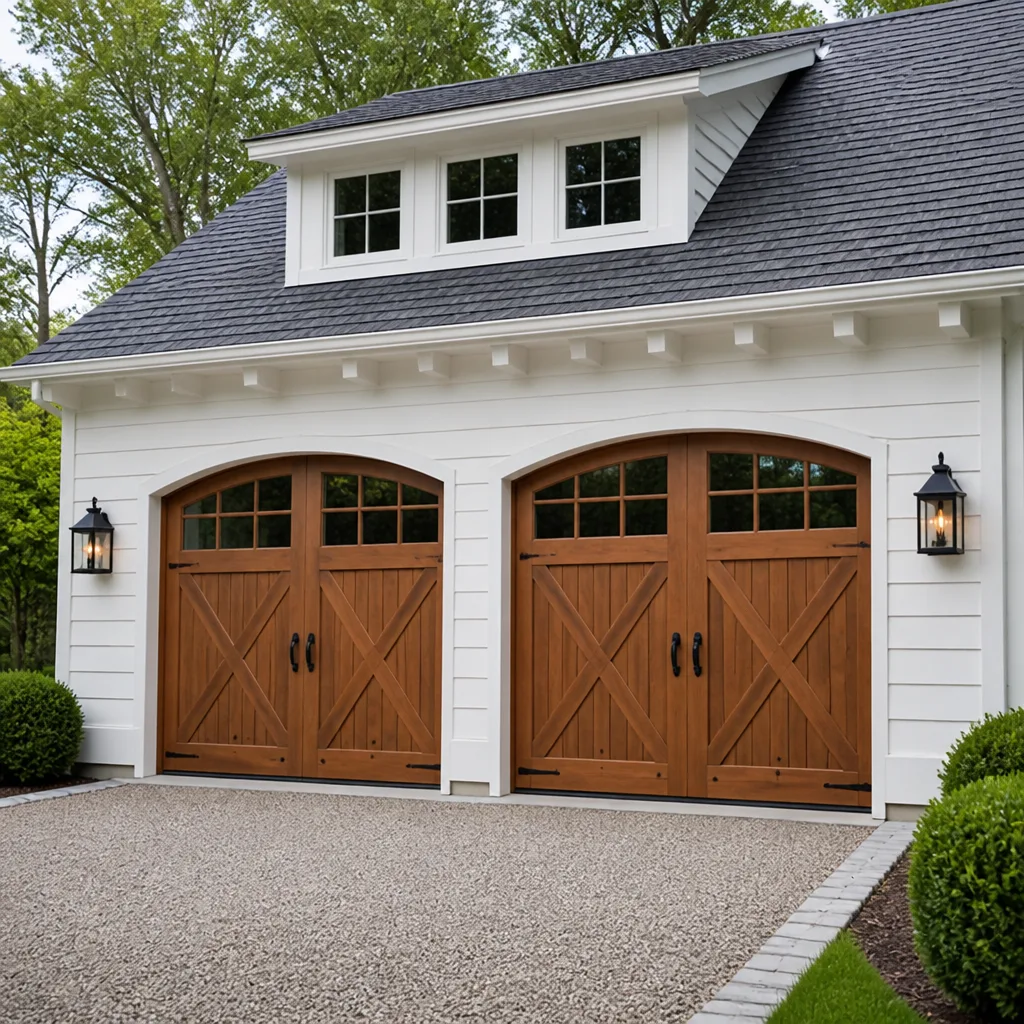 Carriage house
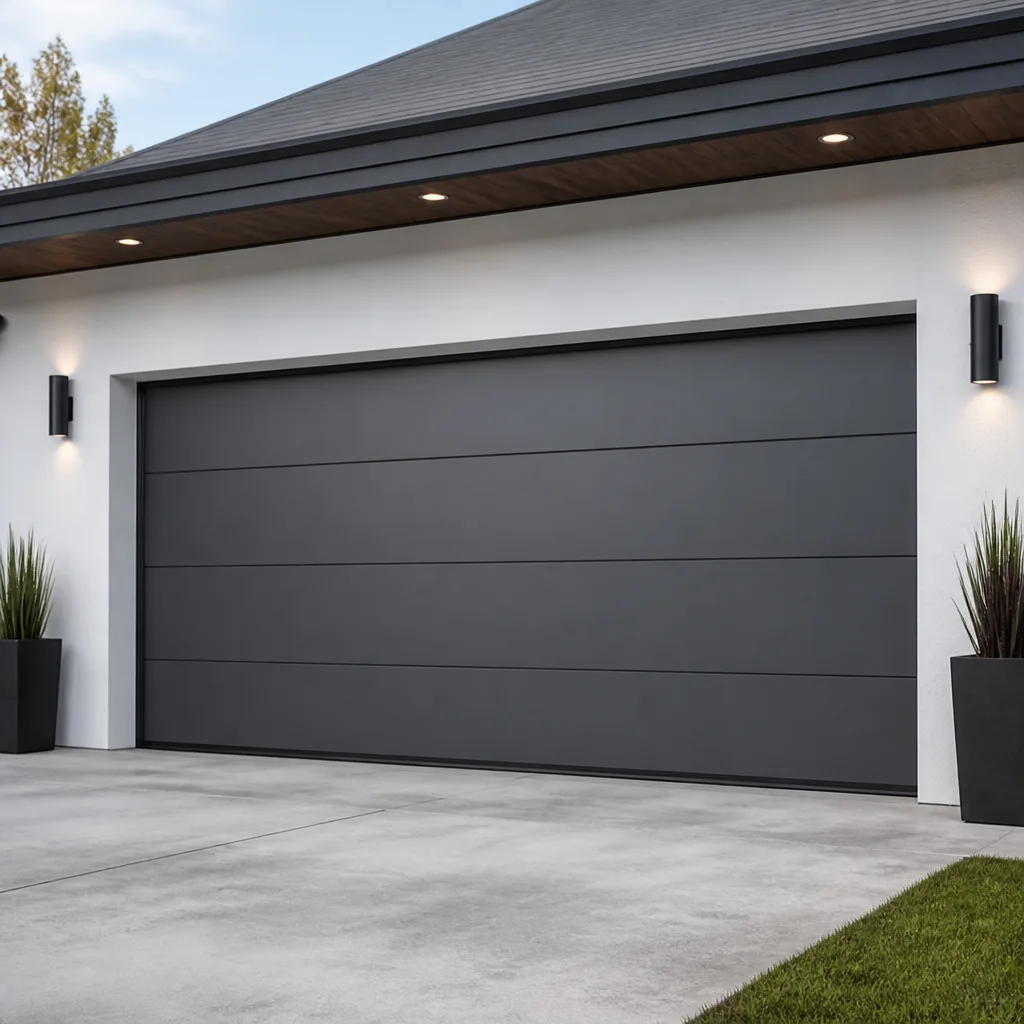 Modern flush
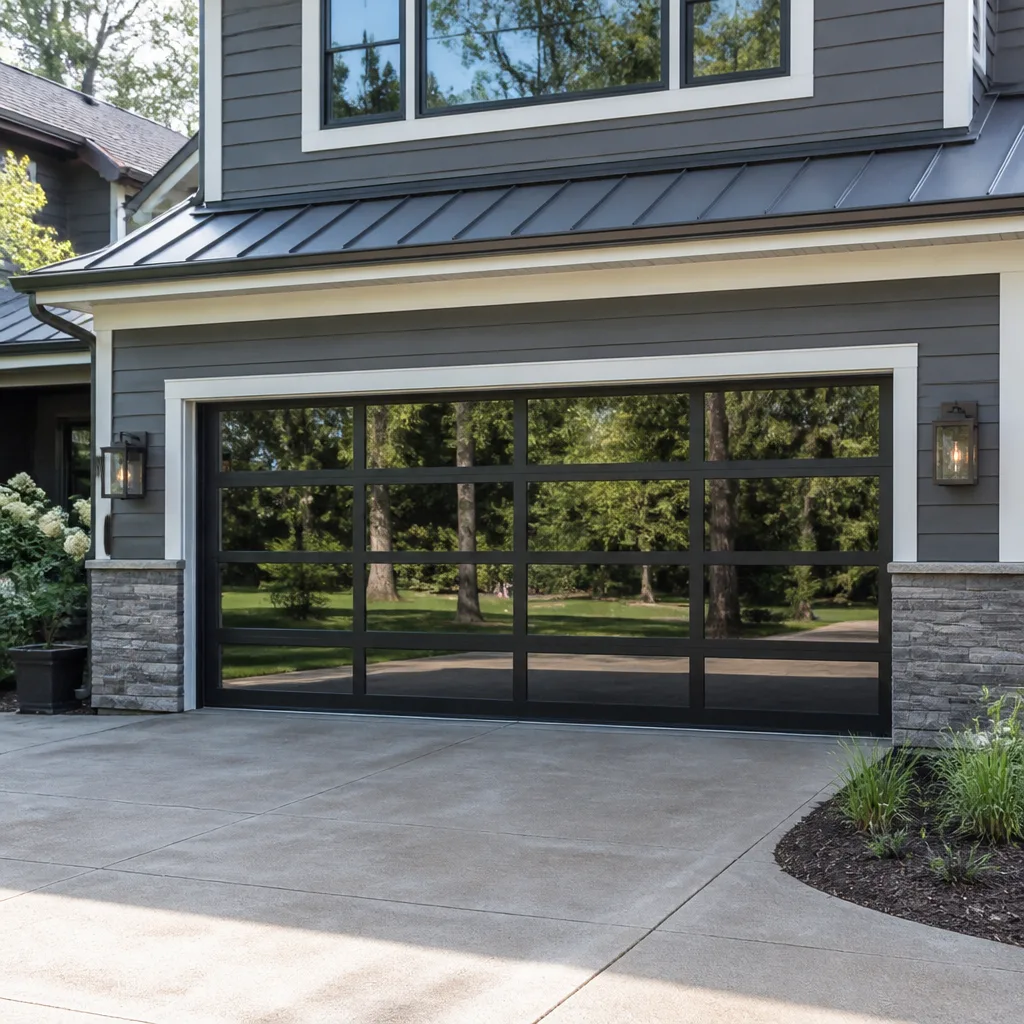 Full-view glass
 LiftMaster openers
 Chamberlain openers
Full 25-point door and opener safety check with every visit - springs, cables, rollers, tracks, and your LiftMaster or Chamberlain opener included
You get a price before we start. It does not change when the truck arrives.
Get your free estimateGarage Door Repair Maintenance Checklist for Carmel Valley Homeowners
The number-one reason garage door repairs cost more than they should is a problem that cost $30 to fix in January became a $400 repair by June because no one knew what to look for. In Carmel Valley, that timeline compresses even faster. Coastal humidity, marine-layer mornings, and intense afternoon UV don’t just wear a garage door; they attack specific components in predictable ways that a generic maintenance checklist from a Midwest hardware store simply doesn’t address. This guide gives you a task-by-task breakdown calibrated to what actually fails on garage doors in Carmel Valley, with the reasoning behind each item so you know what to prioritize, what to skip, and when to stop checking and start calling our Garage Door Repair services.
Styles & brands we work with
- Raised-panel steel
- Carriage house
- Modern flush
- Full-view glass
- LiftMaster openers
- Chamberlain openers
Quick Answer
A garage door maintenance checklist for Carmel Valley homeowners should prioritize monthly rail and hinge lubrication with a silicone-based lubricant, quarterly spring and cable inspection for rust and fraying, and twice-yearly weatherstripping replacement due to accelerated UV degradation. The most important tasks you can do yourself take under 30 minutes total per month; the most important tasks you shouldn’t do yourself involve anything touching torsion springs, cables under tension, or opener motor internals. For those, call a qualified technician before a small problem becomes a structural failure.
Table of Contents
- Why Carmel Valley Weather Demands a Different Checklist
- The Monthly Checklist (20-30 Minutes)
- The Seasonal Checklist (45-60 Minutes, 3 Times a Year)
- The Annual Checklist (Technician-Level, 90 Minutes)
- Lubrication Points That Dry Out Fast in Carmel Valley
- How to Spot Early Torsion Spring Rust Before It’s a $400 Problem
- Weatherstripping Degradation: Why Manufacturer Specs Lie in Coastal UV
- What You Can Safely Do Yourself vs. What Requires a Technician
- Common Mistakes to Avoid
- When to Call a Professional
- Frequently Asked Questions
- The Bottom Line
Why Carmel Valley Weather Demands a Different Checklist
Carmel Valley sits in a microclimate that doesn’t behave like the rest of San Diego County. Mornings bring marine-layer moisture that condenses on cold metal surfaces. By 2 p.m., that same metal bakes under direct sun with low humidity and temperatures that routinely climb into the 80s. This wet-dry cycle repeats hundreds of times a year, and it’s harder on a garage door than either condition would be alone.
What we see on service calls in Carmel Valley breaks down like this: lubrication evaporates or gums up faster than on doors in coastal La Jolla or inland Poway. Rollers that would last 10 years in a shaded garage start grinding by year 6. Weatherstripping rated for 5 years cracks by year 3. And torsion springs, which carry the door’s entire weight, develop surface rust that works its way into coil separation if nobody catches it early.
That’s the environment. A maintenance checklist for Carmel Valley has to account for it, not pretend the door sits in a climate-controlled warehouse. For Garage Door Warning Signs: A Carmel Valley Homeowner’s Reference Guide, see our earlier post. The list below is ordered by what actually prevents the most expensive repairs. None of this is busywork. Each item addresses a failure mode we have personally diagnosed on doors throughout this community.
The Monthly Checklist (20-30 Minutes)
Monthly checks are the highest-leverage 30 minutes you can spend on your home. They catch problems early enough that DIY fixes or minor technician visits still work. Here’s the exact sequence, with time estimates for each task.
- Visual sweep of the door panels (5 minutes). Walk the door while it’s closed and look at each panel from both inside and outside. What you’re looking for: warping, dents that weren’t there before, separation at the seams between panels, and any discoloration that suggests water intrusion. In Carmel Valley, panel separation happens when wood-composite doors absorb morning moisture and then dry unevenly. A small crack at a panel seam in March becomes a full split by August.
- Listen test during operation (5 minutes). Open the door fully, then close it. Stand inside the garage and listen. The door should sound consistent: a low hum from the opener, smooth roller movement, no grinding, no popping, no metallic squeal. A new squeak usually means a roller bearing is dry or a hinge pin is binding. A popping sound often means a section of track is misaligned or a roller is riding the track edge. Neither fixes itself.
- Lubricate hinges, rollers, and the opener chain or screw (10 minutes). Use a silicone spray lubricant. Not WD-40, not lithium grease, not motor oil. We cover the exact points and the reasoning in the lubrication section below, but the frequency matters too: in Carmel Valley’s dry afternoons, silicone lubricant evaporates faster than in more humid climates. Monthly is the interval that actually keeps metal on metal from grinding.
- Check the auto-reverse safety sensors (5 minutes). Place a roll of paper towels or a 2×4 flat on the floor under the door’s path. Close the door. It should reverse immediately upon contact. If it doesn’t, the sensors at the base of the tracks are misaligned, dirty, or failing. This is the single most important safety feature on the door. Testing it takes 5 minutes; not testing it puts everyone in the house at risk every time the door closes.
- Wipe down the tracks with a dry cloth (5 minutes). Do not grease the tracks. That’s a common mistake that causes more problems than it solves. Just wipe visible debris and check for any dents or widening gaps where the track bolts to the wall. Loose track bolts are easier to tighten now than to fix after the track pulls away from the frame under load.
The Seasonal Checklist (45-60 Minutes, 3 Times a Year)
Do these three times a year: March, before summer heat hits; July, at peak UV; and November, before the winter marine layer settles in. Each pass takes about an hour, and the items overlap with monthly checks but go deeper.
Spring (March): The goal here is to undo winter moisture damage before summer heat amplifies it. Check the bottom weatherstripping thoroughly for brittleness. Inspect every roller for chips or flat spots. Tighten all track brackets and hinge bolts. Run the door through three full open-close cycles and watch for any hesitation that indicates a balance problem. A door that hesitates halfway up in March will fail completely on a 90-degree July afternoon when the metal expands.
Summer (July): Summer is when Carmel Valley’s UV exposure peaks, and it’s the season we see the most weatherstripping and seal failures. Replace the bottom seal if it’s cracked or compressed. Check the weatherstripping along the door frame and top jamb. Inspect cables for any sign of rust or loose strands near the bottom brackets. Check the opener’s force settings by closing the door on a 2×4: it should reverse, not strain. If the opener logic board is over 10 years old, July heat is often when intermittent failures start.
Late Fall (November): The marine layer returns, and with it comes condensation. Spring rust accelerates in winter months. Wipe down the springs with a dry cloth, inspect closely for rust blooms (more on that below), and apply a thin coat of spray lubricant to the springs only if they’re dry. Check the door’s balance by pulling the manual release and lifting the door halfway. A balanced door stays put; an unbalanced door drops or rises. Balance problems signal spring fatigue, and they’re cheapest to address before the spring fully separates.
The Annual Checklist (Technician-Level, 90 Minutes)
Once a year, the door needs a full diagnostic pass that goes beyond what most homeowners should attempt. This is what our garage door repair in Carmel Valley technicians do on a maintenance visit, and it’s worth understanding even if you only do part of it yourself.
- Spring tension measurement. Torsion springs are rated for a specific number of cycles (typically 10,000). A technician can measure the current tension and estimate remaining life. Homeowners can’t safely do this with the spring wound, but knowing where your spring sits in its life cycle changes how you prioritize other maintenance. A spring at 85% of its cycle rating means even minor rust becomes urgent.
- Cable inspection at both drums and bottom brackets. Cables fray at the points of maximum friction: where they wrap around the drums at the top and where they anchor to the bottom brackets. Early fraying looks like one or two loose wire strands. By the time you see a full cable break, the door often comes down hard on one side, damaging panels and tracks.
- Opener gear and sprocket wear. On LiftMaster and Chamberlain openers, the internal plastic gear wears predictably over 7-10 years. Symptoms include grinding during operation and increasing noise. Catching it before the gear strips completely is a $150 opener repair instead of a full opener replacement.
- Track alignment and level check. Carmel Valley homes sit on varied terrain, and some garages experience subtle slab shifting over time. A track that’s 1/4-inch out of level at the top of the opening becomes a binding problem for the top panel. Technicians use levels and adjust track brackets to restore smooth travel.
- Full cycle test under load. The door runs through 10 complete open-close cycles while the technician watches for heat buildup in the opener motor, inconsistent speed, or hesitation points. This catches intermittent issues that a single cycle misses.
- Safety system verification. Both the auto-reverse function and the photoelectric sensors get tested independently. California code requires both to work, and a failed test is a legitimate reason to refuse to use the opener until repaired.
Lubrication Points That Dry Out Fast in Carmel Valley
Here’s the thing about garage door lubrication that most guides get wrong: not every moving part gets the same treatment, and some parts shouldn’t be lubricated at all. In Carmel Valley’s low-humidity inland afternoons, lubricant breaks down differently than in coastal air. What works in La Jolla gums up in Carmel Valley, and what works in Poway evaporates too fast near the coast.
Use a silicone-based spray lubricant. It displaces moisture (important for marine-layer mornings), it doesn’t attract dust the way lithium grease does, and it withstands the temperature swings we get between cool mornings and hot afternoons. Avoid WD-40 entirely: it’s a solvent and water displacer, not a lubricant, and it actually strips away protective oils from hinges and rollers. Avoid lithium grease on any part exposed to dust, because Carmel Valley’s dry season kicks up fine particulate that turns grease into grinding paste.
The specific points that need monthly lubrication:
- Hinge pins where the door sections articulate. These take the most load and dry out fastest.
- Roller bearings on the wheel side, not the track. A dry roller bearing sounds like a squeal and eventually seizes, at which point the roller stops rolling and starts dragging, carving a groove in the track.
- Opener chain or screw drive. On LiftMaster and Chamberlain openers, a dry chain causes jerky operation and premature gear wear. The screw drive on older Genie openers needs regular lubrication or it overworks the motor.
- Torsion springs get a light coat to prevent rust, not to reduce friction. Springs don’t slide against anything; the coating is purely protective. In Carmel Valley winter moisture, that coating is what keeps surface rust from starting.
Do not lubricate the tracks. The rollers ride on the track surface, and oil or grease on the track collects dust and creates resistance. If your tracks look dirty, wipe them with a dry cloth. If the rollers are properly lubricated, the track doesn’t need anything.
How to Spot Early Torsion Spring Rust Before It’s a $400 Problem
Torsion springs fail in a predictable way, and rust is the accelerant. A spring that would last 10,000 cycles in a dry environment might fail at 6,000 cycles if surface rust is allowed to progress unchecked. In Carmel Valley, we see this pattern all the time: winter marine-layer moisture settles on the spring coils, afternoon sun bakes off the water, and the cycle repeats until the protective coating breaks down. Rust begins as a cosmetic issue and ends as a structural one.
Here’s the progression, and what you’re looking for at each stage:
- Stage 1: Discoloration. The spring coating looks dull or slightly orange in patches. No pitting. This is the point where a light coat of silicone spray stops the process. Cost: $12 and 10 minutes.
- Stage 2: Surface rust with light pitting. You can feel roughness when you run a finger along the coil (do this with the door closed and the spring under tension, never while moving). The spring is still structurally sound, but the coating has failed. Lubricate now, and start watching more closely.
- Stage 3: Coil separation. You see a visible gap between two coils that should be touching tightly. This means the metal has fatigued and the spring is beginning to uncoil along a weak point. The spring will fail soon, possibly catastrophically. This is no longer a maintenance item. This is a repair call.
The key insight: Stage 2 to Stage 3 can happen in as little as 3-4 months in Carmel Valley’s wet-dry cycle. A spring that looks slightly rusty in January can become a separated coil by April if the weather runs damp. That’s why spring inspection is on the seasonal checklist, not the annual one. If you see any stage beyond discoloration, call someone who works on your specific brand, or consult our Garage Door Repair Troubleshooting: Common Problems and How to Fix Them. We work on springs from all eight major manufacturers, so the brand stamped on the spring doesn’t change the repair process, just the parts we carry instead of ordering.
Weatherstripping Degradation: Why Manufacturer Specs Lie in Coastal UV
Manufacturers rate garage door weatherstripping for 5-7 years of service in “normal” conditions. Normal, in this case, means the manufacturer’s testing environment, not a west-facing Carmel Valley garage door that takes direct afternoon sun for 4-6 hours a day, 300 days a year. The UV index in this part of San Diego County regularly hits 8 or higher in summer, and UV radiation is the primary cause of rubber and vinyl breakdown.
In our service area, we consistently see weatherstripping fail at the 3-year mark on doors with western or southern exposure. East-facing doors sometimes last 4 years. A north-facing door in deep shade might reach the manufacturer’s claimed lifespan. The variable isn’t product quality; it’s UV load, and Carmel Valley sits in a high-UV band.
What failure looks like, in order:
- Cracking at flex points. The bottom seal develops cracks where it folds against the floor. Cracks let in dust, water, and rodents.
- Compression set. The seal flattens and loses its spring. You’ll see daylight under the door at the corners even when the door is closed.
- Full brittleness. The seal breaks off in chunks when you touch it. By this point it’s doing nothing, and you’ve been heating and cooling the garage through a significant gap for months.
Replacement bottom seal costs between $20 and $60 for the material, depending on door width and seal profile. Installing it takes a competent homeowner about 45 minutes, or a technician about 30. The side and top weatherstripping around the frame is equally UV-exposed and fails on a similar timeline. Check it every time you do the seasonal pass. If it feels stiff instead of pliable, plan to replace it within the season, not next year.
What You Can Safely Do Yourself vs. What Requires a Technician
We’re going to be direct about this: there are things on a garage door that can seriously injure or kill a homeowner who doesn’t understand the mechanical forces involved. This isn’t liability hedging. It’s the same separation you’d use with electrical wiring: you can change a light fixture, but you don’t rewire a panel. Here’s the honest split.
Safe DIY with basic tools and attention to detail:
- Lubrication of hinges, rollers, and chain/screw drive
- Weatherstripping replacement on the bottom seal and frame
- Track cleaning and inspection
- Auto-reverse and photoelectric sensor testing
- Visual inspection of springs, cables, and rollers
- Tightening loose hinge and track bolts (with the door closed)
- Opener remote battery replacement and programming, including myQ app setup on LiftMaster and Chamberlain systems
Requires a trained technician, no exceptions:
- Torsion spring replacement or adjustment. The spring holds the entire door weight under tension. When a spring breaks, it releases that energy suddenly. Springs have killed people. Don’t touch them.
- Cable replacement. The cables work with the springs to carry the door. A cable under load can slice through a glove, a hand, or worse if it snaps. The tension has to be released in a controlled sequence.
- Track realignment or replacement. A misaligned track causes binding that can launch a roller out of the track at speed. Adjusting tracks correctly requires knowing how to rebalance the door afterwards.
- Opener motor or logic board replacement. On newer LiftMaster, Chamberlain, and Genie openers, the logic board is integrated with safety systems and force settings. Replacing it wrong creates a door that either won’t reverse or reverses unpredictably.
The line between these categories isn’t a judgment call. It’s the difference between a part that’s under mechanical energy and one that isn’t. If the door is moving and something near the spring or cable needs work, that’s a professional job. If the door is stationary and the part isn’t load-bearing, it’s usually fair game.
Common Mistakes to Avoid
- Using WD-40 on hinges and rollers. It’s a solvent, not a lubricant. It cleans but strips protective oils, making the problem worse within a month. In Carmel Valley’s dry air, WD-40 evaporates completely within days, leaving bare metal even more exposed.
- Greasing the tracks. Grease plus dust equals grinding paste. The tracks should be clean and dry. This is the most common mistake we correct on first-time garage door opener repair calls.
- Ignoring a squeak until it becomes a grinding sound. A squeak is a dry bearing, and a dry bearing is a $12 fix. A grinding sound means the bearing has failed and the roller is eating the track, which is a track and roller replacement. In Carmel Valley, dry air accelerates this from squeak to grind faster than in humid climates.
- Replacing the opener when the problem is the door. A door that’s out of balance makes the opener work harder, overheat, and trip the safety cutoff. Many openers get replaced when the real problem is a tired spring or a binding roller. Our repair-first approach means we check the full system, not just the motor that’s complaining.
- Replacing a broken spring with the wrong size thinking “close enough” works. A spring is rated for the specific door weight and height. An undersized spring fails early; an oversized spring makes the opener strain and slams the door. This is one area where guessing is expensive.
- Deferring weatherstripping replacement because it looks “mostly fine.” A small gap at the bottom corner lets in everything: heat in summer, cold in winter, dust and rodents year-round. The energy cost alone usually exceeds the price of the seal within a season.
- Forgetting the photoelectric sensors are a safety device, not an afterthought. California building code requires them, and more importantly, they prevent a closing door from crushing a child, a pet, or a delivery person. Testing them monthly is the bare minimum.
When to Call a Professional
Call a professional the moment you see coil separation on a spring, frayed cable strands, a door that hangs unevenly, or an opener that reverses for no reason or fails to reverse when obstructed. These are failure modes that don’t improve with time and often get dramatically more expensive within a single season in Carmel Valley’s wet-dry climate. The same goes for any door that’s been through a hard impact: a backed-into panel can hide track damage that shows up weeks later. Bluewater Garage Door Service offers free estimates in Carmel Valley, and we’ll tell you honestly whether a repair makes sense or a garage door installation is the smarter investment. Call (833) 349-4780 and we’ll give you a clear answer on the first visit.
Frequently Asked Questions
Monthly is the correct interval for hinges, rollers, and opener drives in Carmel Valley’s climate. The dry afternoon air evaporates silicone lubricant faster than in humid coastal zones, and the marine-layer morning moisture accelerates oxidation on any unlubricated metal. A monthly 10-minute lubrication pass is cheap insurance against roller bearing and hinge failures. Call (833) 349-4780 if you’re not sure which parts need which treatment.
A squeak is the first audible sign of a dry bearing or hinge pin, and it’s usually still fixable with lubrication at that stage. Left unresolved in Carmel Valley’s dry air, the squeak becomes a grind within a few months, at which point the roller bearing has failed and is damaging the track. Address a squeak within a week of hearing it. If lubrication doesn’t resolve it, the bearing is already gone and you’ll need a roller replacement.
No. Torsion springs hold hundreds of pounds of tension, and the release of that tension during a DIY replacement has caused serious injuries and deaths. This is not a skill-level issue; it’s a mechanical-force issue that requires training and specialized winding bars. We replace torsion springs as a standard part of our garage door repair service, and we do it the same day in most Carmel Valley cases because the parts are standard across the major door brands.
Carmel Valley’s UV exposure is significantly higher than the national average used in manufacturer durability testing. A west-facing door in Carmel Valley gets 4-6 hours of direct afternoon sun at UV index levels that break down rubber and vinyl compounds at double the tested rate. Expect 3-4 years from weatherstripping here, not the 5-7 years on the package. Check for stiffness at every seasonal maintenance pass and plan replacement proactively.
Pull the manual release cord (with the door closed, and not while anyone or anything is under the door), then manually lift the door to the halfway point. A balanced door stays where you put it; an unbalanced door drifts up or drops down. A door that drops is under-sprung and the opener is doing extra work; a door that rises is over-sprung and putting excessive load on the hardware. Either condition calls for a spring tension adjustment from a technician.
We service opener brands from LiftMaster, Chamberlain, Genie, and others across the residential market. If you have a door from Clopay, Amarr, Wayne Dalton, or Raynor, the opener and door brand work together, and we work on both sides of that system. We’re brand-agnostic by design: we fix what’s installed, and we only recommend replacement when repair genuinely doesn’t pencil out. Call (833) 349-4780 and we’ll tell you what you have and what it needs.
The Bottom Line
A maintenance checklist is only as good as the environment it’s written for, and Carmel Valley’s wet-dry cycle is harder on garage doors than the generic advice most homeowners find assumes. Lubricate monthly with silicone spray, inspect springs and cables each season for the earliest signs of rust and fraying, and expect weatherstripping to need replacement on roughly a 3-year cycle rather than the manufacturer’s stated 5-7. Do the safe tasks yourself, be honest about which ones aren’t, and call a professional before a $30 lubricant problem becomes a $400 spring replacement. That’s the whole game. Bluewater Garage Door Service handles the full system: doors, openers, and installation, across all the major brands you’re likely to find in a Carmel Valley garage. One call covers it.
Written by the team at Bluewater Garage Door Service, serving Carmel Valley since 2013. For more guides & resources, visit our blog.
See the difference
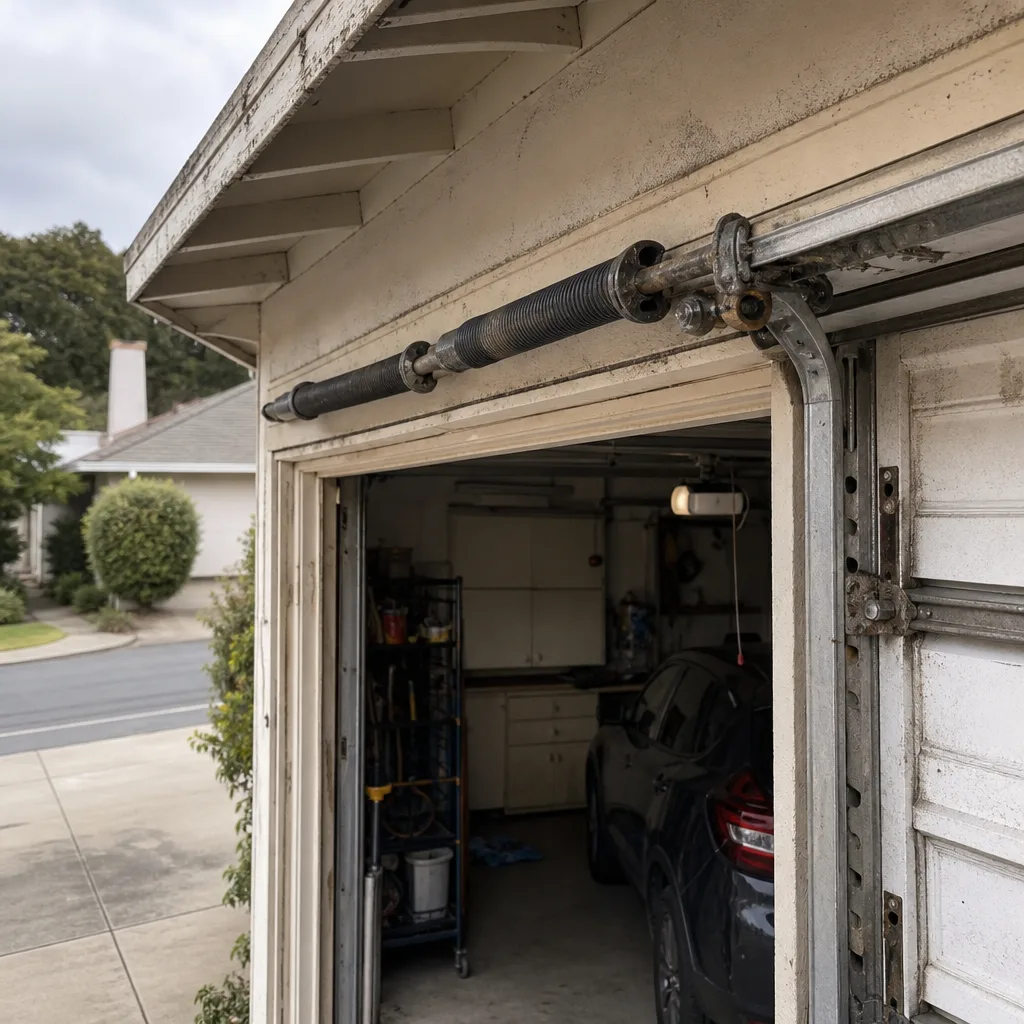 Before
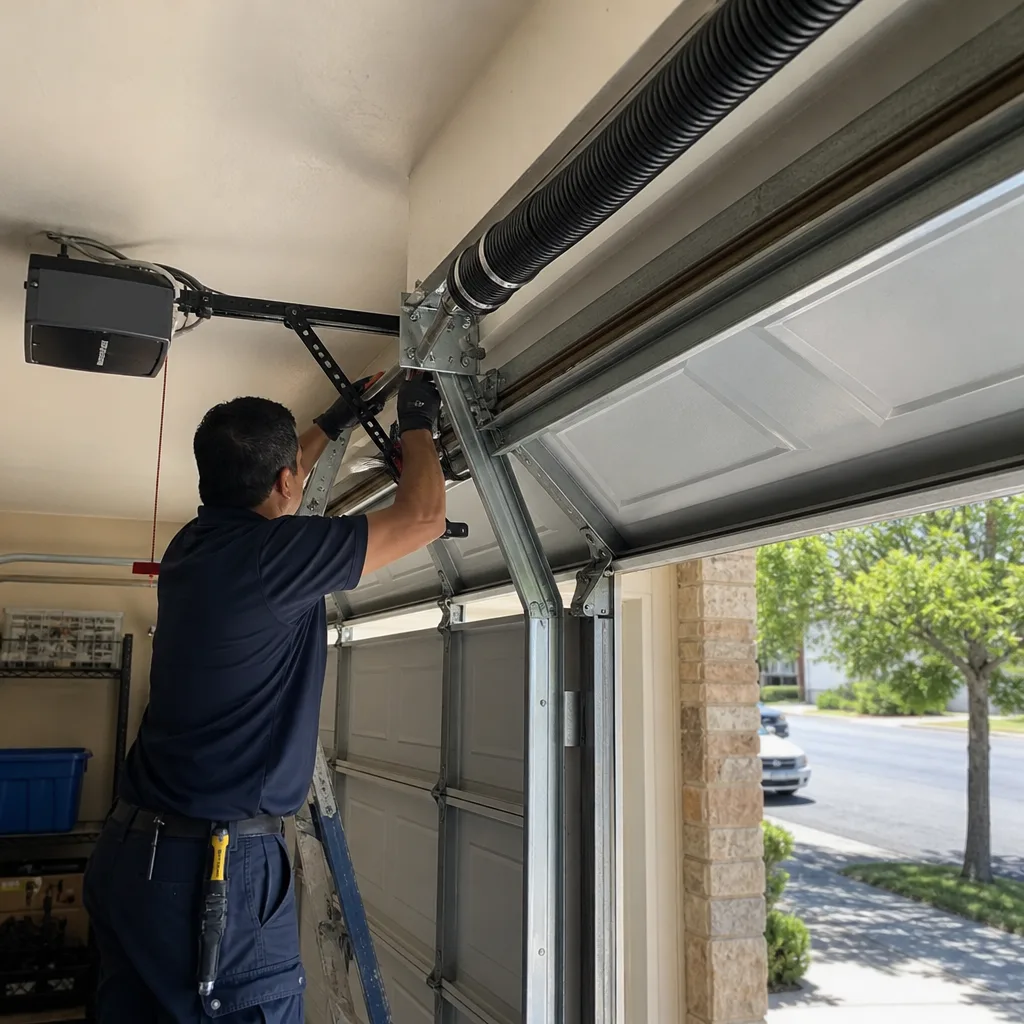 After
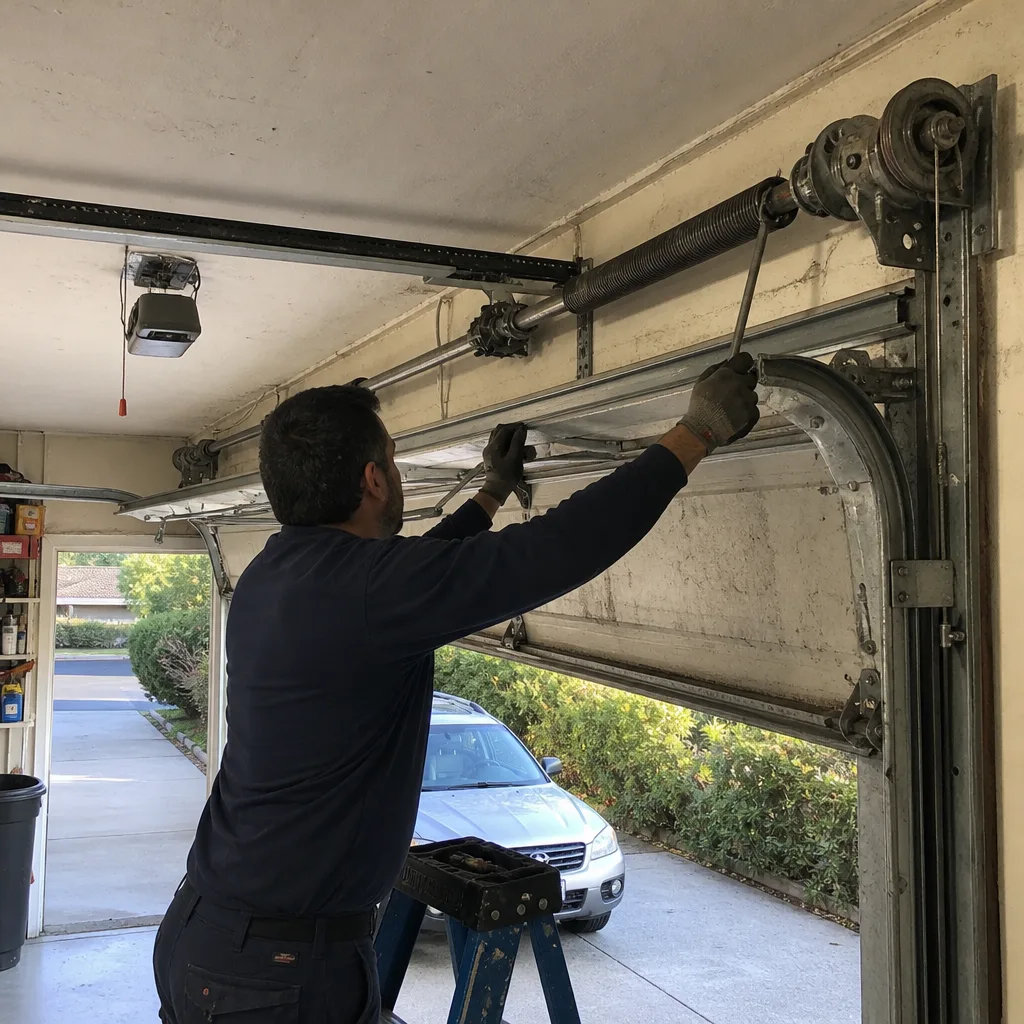 Before
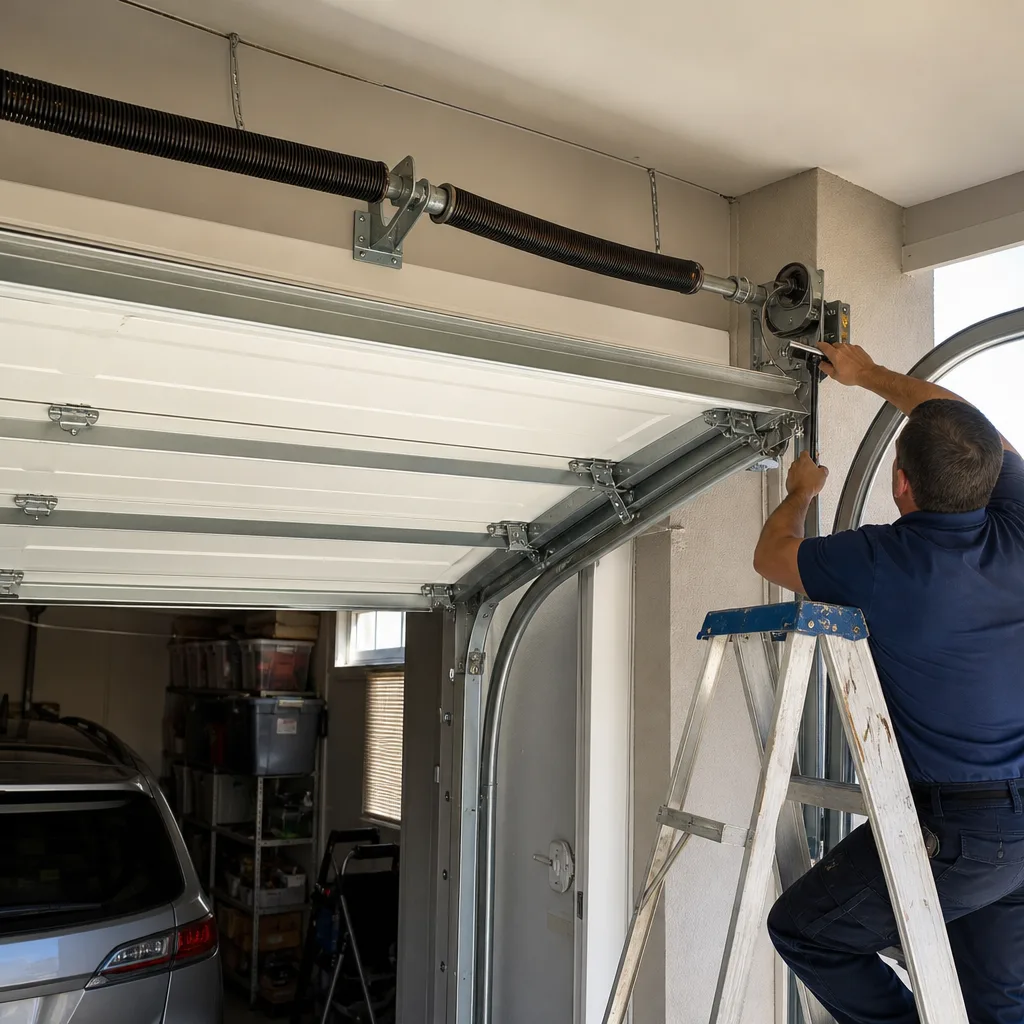 After
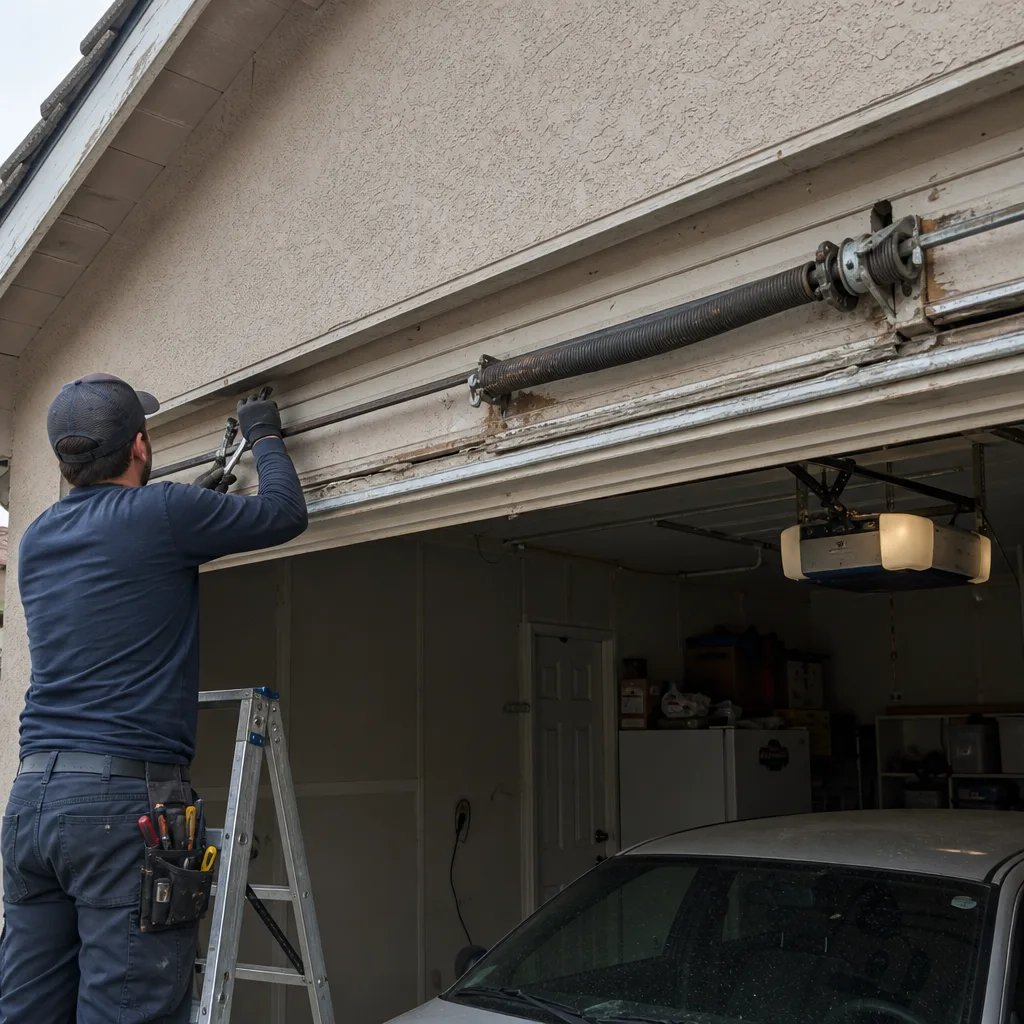 Before
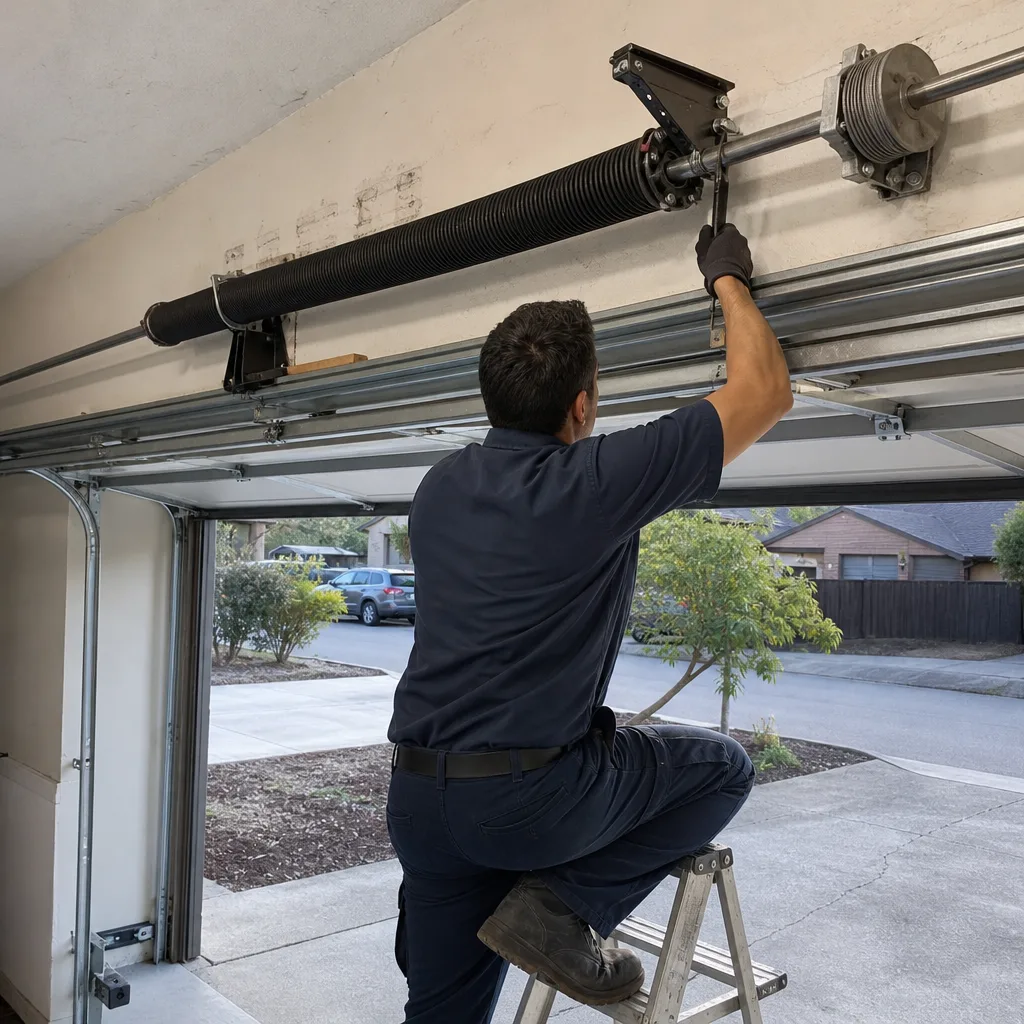 After