
Last updated November 2, 2026
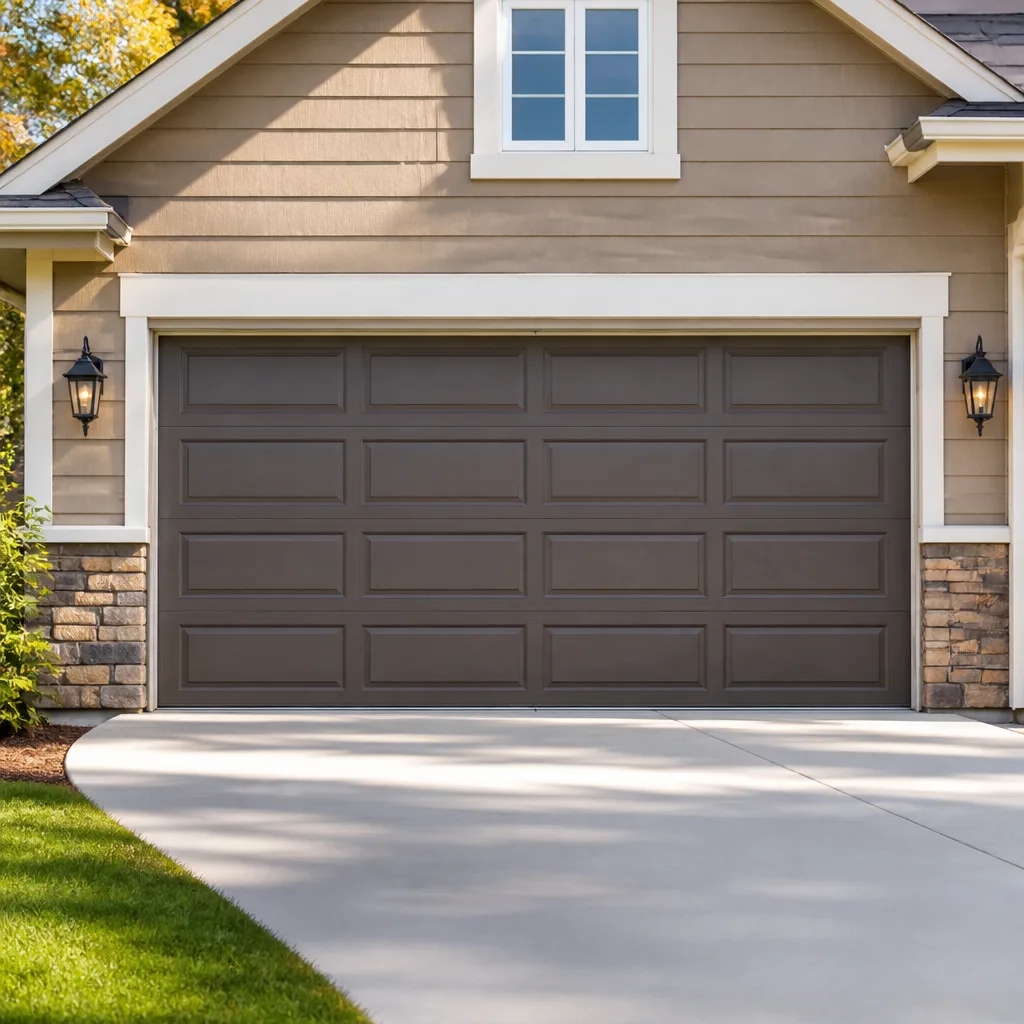 Raised-panel steel
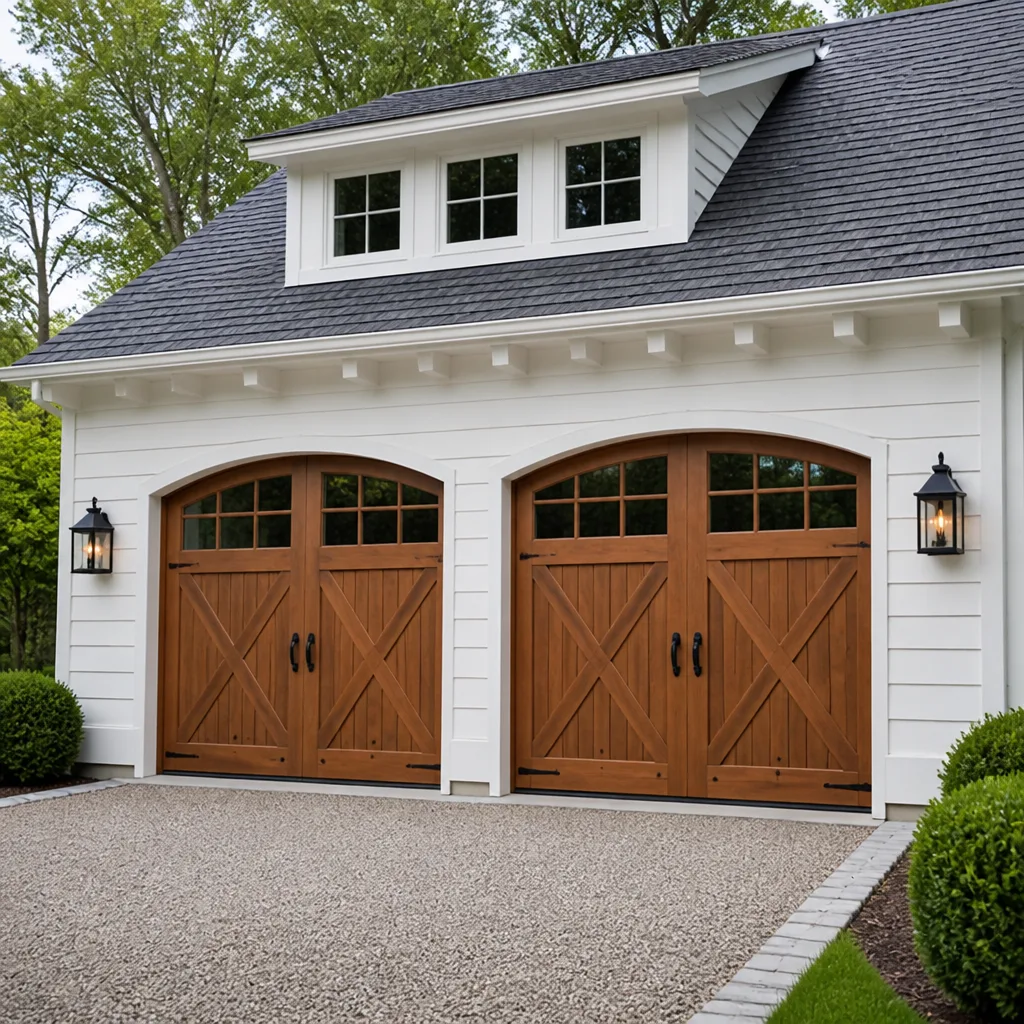 Carriage house
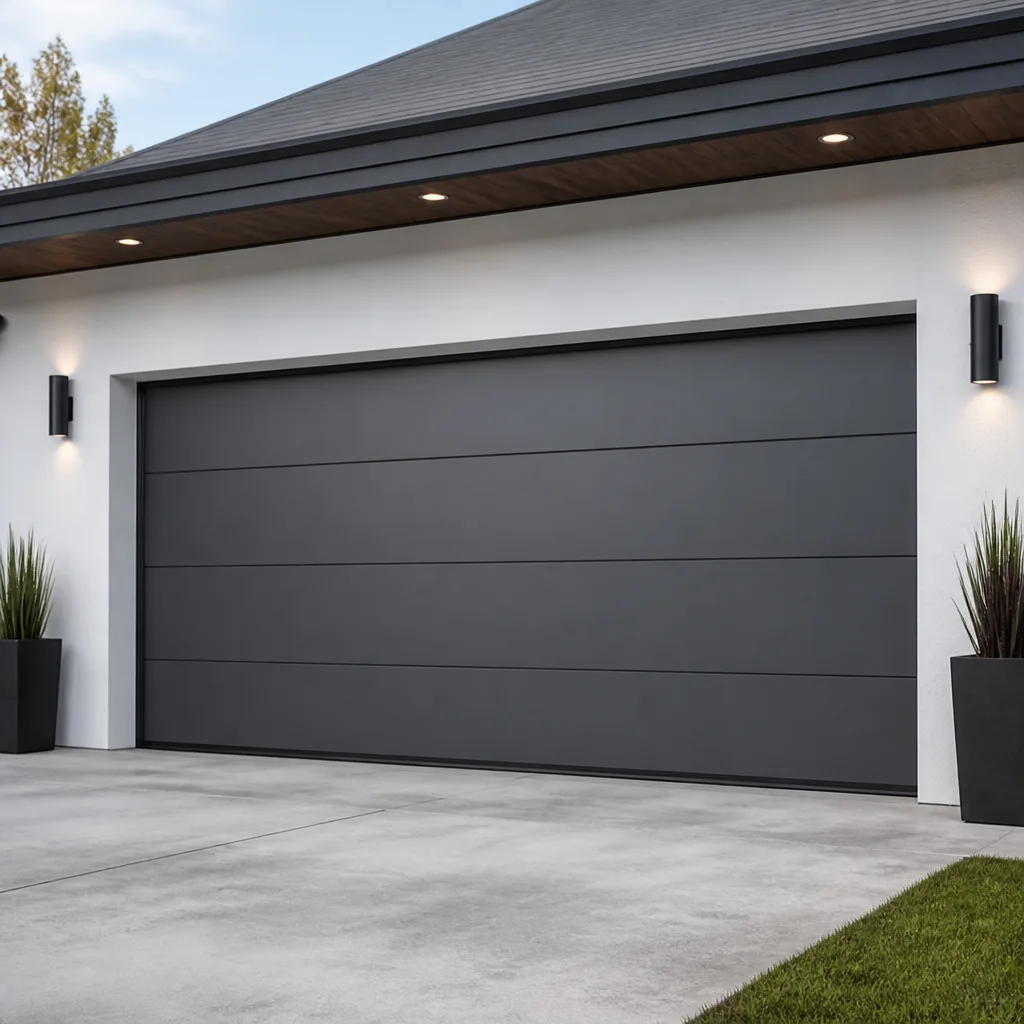 Modern flush
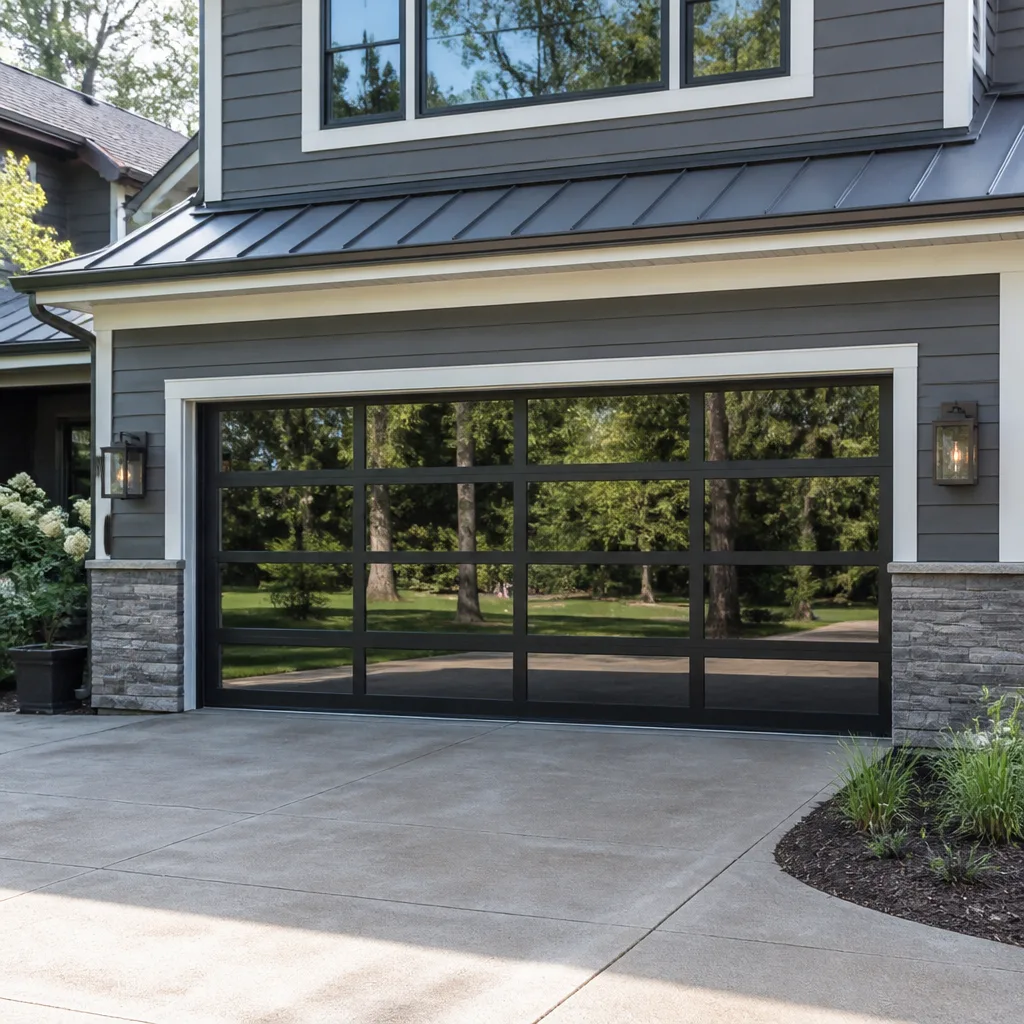 Full-view glass
 LiftMaster openers
 Chamberlain openers
Full 25-point door and opener safety check with every visit - springs, cables, rollers, tracks, and your LiftMaster or Chamberlain opener included
You get a price before we start. It does not change when the truck arrives.
Get your free estimateDIY vs Professional Garage Door: The Carmel Valley Homeowner’s Decision Guide
A torsion spring on a double-wide garage door stores roughly 300 to 500 joules of potential energy when fully wound. That’s comparable to the muzzle energy of a .22 caliber bullet. When that spring lets go, it releases all of it in a fraction of a second, directly into whatever is in its path. This guide isn’t about scaring you away from touching your garage door.
It’s about drawing a precise line between the tasks where a homeowner in Carmel Valley can save real money and the tasks where the math never works in your favor. By the time you finish reading, you’ll know exactly which jobs belong on your weekend list, which ones need a technician’s spring-winding expertise, and why that boundary exists in the first place. For more guidance, see our Garage Door Emergency Preparedness Guide for Carmel Valley Homes.
Styles & brands we work with
- Raised-panel steel
- Carriage house
- Modern flush
- Full-view glass
- LiftMaster openers
- Chamberlain openers
Quick Answer
Most garage door maintenance in Carmel Valley is safely DIY-able, but the two highest-risk tasks are not. Lubrication, sensor alignment, weatherstripping replacement, and keypad programming are homeowner jobs that require under $50 in supplies and no special training. Torsion spring replacement and cable work are professional-only jobs, because the stored energy in a wound spring can cause severe injury or death, and the failure of a cable mid-repair can turn a 200-pound door into a falling hazard. The decision isn’t about how handy you are. It’s about which components store life-threatening energy and which ones don’t.
Table of Contents
- The Physics of Torsion Springs: Why ‘Handy’ Doesn’t Matter
- The DIY List: Four Tasks That Are Genuinely Homeowner-Appropriate
- The Professional List: Two Tasks That Are Never DIY
- What California Insurance Actually Covers: The Carmel Valley Homeowner’s Context
- When a $15 DIY Fix Becomes a $900 Professional Repair
- Tools a Homeowner Should Own, and the One Tool They Shouldn’t
- Door vs. Opener: How to Tell Which System Is Failing
- Carmel Valley-Specific Factors: Climate, Code, and Neighborhood Context
- Common Mistakes to Avoid
- When to Call a Professional
- Frequently Asked Questions
- The Bottom Line
The Physics of Torsion Springs: Why ‘Handy’ Doesn’t Matter
A torsion spring doesn’t look dangerous. It’s a tightly coiled steel bar mounted horizontally above your garage door opening. But when your door is closed, that spring is wound tight enough to counterbalance the full weight of the door, typically 150 to 250 pounds for a two-car garage. Every time the door opens, the spring unwinds and releases that energy slowly through the cables and drums. Every time the door closes, the spring winds back up and stores it again.
The danger isn’t in the spring’s existence. It’s in the sudden release. If a spring snaps while you’re working on the door, or if a winding bar slips out of the cone while you’re adjusting tension, the stored energy transfers into the metal bar and the spring itself. A winding bar can be ejected with enough force to fracture bone. The spring can whip through the air faster than you can flinch. This isn’t a cautionary tale about someone who was careless. Trained technicians have been hurt by spring failures. The difference is that a trained technician uses the correct winding bars, follows a specific insertion and quarter-turn sequence, and positions their body outside the path of the bars at all times.
Here’s the number that matters: a standard residential torsion spring, when fully wound, holds enough energy to lift your entire garage door by itself. That’s the job it does.
When you attempt to remove or adjust that spring without the proper tools and training, you’re gambling that the spring won’t release that energy into you. In our experience servicing doors throughout Carmel Valley, the homeowners who understand this principle are the ones who make the right call. They’re not less capable. They’re just clear-eyed about what the spring is designed to do.
For anything involving spring tension, the correct move is to call a professional. Our Garage Door Repair in Carmel Valley service includes spring inspection and replacement, and we’ll always show you the condition of your springs before any work is done.
The DIY List: Four Tasks That Are Genuinely Homeowner-Appropriate
Not everything on your garage door requires a technician. Some tasks are genuinely appropriate for a homeowner with basic tools and a free afternoon. The distinction comes down to stored energy: none of the tasks below involve touching springs, cables, or anything under tension.
1. Lubrication
This is the highest-value DIY task on any garage door, and it takes less than 20 minutes. Use a lithium-based or silicone spray lubricant on the hinges, rollers, and the bearing plates at the ends of the torsion tube. Do not use WD-40 as a lubricant. WD-40 is a solvent and water displacer, not a long-term lubricant. It will clean the metal and then leave it unprotected.
In Carmel Valley, the coastal air carries salt and moisture that accelerates oxidation on unpainted metal surfaces. A homeowner who lubricates their door twice a year will typically extend the life of their rollers and hinges by several years. Apply the lubricant to the roller ball bearings and the hinge pivot points, then open and close the door twice to work it in.
2. Photo-Eye Sensor Alignment
Your garage door has two small photo-eye sensors mounted on the tracks, about six inches off the ground on each side. If one gets bumped by a car bumper, a rake handle, or a trash can, the door will refuse to close. The sensors point at each other. When they lose alignment, the opener thinks something is in the path.
The fix is simple. Check the small LED light on each sensor. If one is blinking or off, loosen the wing nut on the mounting bracket, adjust the sensor until both lights are solid, and tighten the nut. You don’t need to turn off the opener. This is a five-minute fix that saves a service call.
3. Weatherstripping Replacement
The rubber strip along the bottom of your garage door degrades over time, especially in Carmel Valley where UV exposure is high and the temperature swings between warm afternoons and cool nights can crack aging rubber. You’ll know it’s time when you see daylight under the closed door or when water pools inside the garage during winter rains.
Replacement weatherstripping is sold at most hardware stores and costs under $40. The old strip slides out of the aluminum channel on the bottom of the door. The new strip slides in. Some doors use a T-channel design, so bring a small section of the old strip with you to match the profile. This is a 30-minute job with no special tools.
4. Keypad Programming and Battery Replacement
Wireless keypads and remote batteries fail more often than any mechanical component on a garage door. You don’t need a technician for this. Replacement batteries are sold everywhere. Keypad reprogramming follows the instructions printed on the back of the opener’s motor unit. If you don’t have the manual, the model number is printed on the opener itself, and the manual is available online.
One caveat: this applies to reprogramming an existing keypad to the same opener. If you’re installing a brand-new keypad that’s incompatible with your opener’s security protocol, that’s a compatibility question worth a phone call. We work on LiftMaster, Chamberlain, Genie, Clopay, Amarr, Wayne Dalton, Craftsman, and Raynor equipment, so when a homeowner calls us with a programming question, we can usually answer it in a few minutes. The Bluewater Garage Door Service home page has our contact information if you need a quick answer.
The Professional List: Two Tasks That Are Never DIY
There are exactly two garage door components that a homeowner should never attempt to service: torsion springs and lift cables. Both are under constant tension when the door is closed. Both can cause catastrophic injury when they fail. Both require specific tools and a specific sequence of operations that experienced technicians follow without thinking and homeowners don’t know exist.
Torsion Springs
We covered the physics above, but the practical point is worth restating. A torsion spring replacement involves unwinding the old spring’s remaining tension, removing the spring from the torsion tube, installing a new spring with the correct winding direction and wire gauge, and winding it to the exact number of quarter-turns specified by the door manufacturer. A spring that’s wound too many turns will yank the door open violently. A spring that’s wound too few turns won’t lift the door, and the opener motor will burn out trying. Door weight, spring wire diameter, spring inside diameter, and spring length all factor into the calculation.
The potential failure points aren’t limited to the winding process. If you install a spring with the wrong wire gauge, the door will be dangerously unbalanced. If you don’t secure the torsion tube properly, the spring can shift under load and shear the mounting bolts. If you don’t replace both springs when one breaks on a double-spring door, the old spring’s fatigue will cause the new spring to carry double the load and fail prematurely.
No amount of YouTube research changes any of this. This is the one piece of advice we’d give to any homeowner in Carmel Valley, regardless of their skill level: do not touch the springs.
Lift Cables
The lift cables are the braided steel wires that run from the bottom brackets of the door up to the drums on the torsion tube. They carry the door’s weight whenever the springs are not engaged, which happens at the very top of the door’s travel. If a cable snaps while the door is up, the door can come down hard. If a cable snaps while the door is closed, the door may stay closed, but attempting to open it will cause the door to bind, twist, or derail.
Cable replacement looks straightforward. It isn’t. The cable runs through the drum, which is attached to the torsion tube, which is under spring tension. To replace the cable, you have to release the spring tension first. That puts you back in the spring danger zone. And if the cable routing is off by even one groove in the drum, the door will lift unevenly and can pull itself out of the tracks.
When we replace cables on a door in Carmel Valley, we typically replace them in pairs and inspect the drums and bottom brackets at the same time. Cables don’t fail in isolation. They usually fail because the drum is worn, the bracket is bent, or the door has been running out of balance for months. Fixing the cable without addressing the underlying cause means you’ll be replacing the cable again in six months.
For any cable or spring issue, our Garage Door Installation in Carmel Valley team can also assess whether the door itself is worth repairing or if a replacement makes more financial sense. We’ll show you the condition of every component before making a recommendation.
What California Insurance Actually Covers: The Carmel Valley Homeowner’s Context
California homeowners insurance policies cover garage doors as part of the dwelling structure. If your garage door is damaged by a covered peril, fire, vandalism, a falling tree, your insurance will typically pay for repair or replacement, minus your deductible. That’s the good news. The less-discussed part is what happens when a DIY repair goes wrong and someone gets hurt.
If you attempt a torsion spring repair, the spring slips, and your neighbor or a family member is injured, your homeowners liability coverage may not protect you the way you’d expect. Insurance companies investigate claims. When the investigation shows that an injury was caused by the homeowner performing a repair that a reasonable person would have known required a professional, the insurer can deny the liability claim or, in some cases, pursue subrogation against the homeowner for gross negligence. The threshold for gross negligence is high, but a torsion spring injury involving an untrained person making an attempt with improvised tools is not a strong position to defend from.
There’s also the matter of consequential damage. If a homeowner replaces a spring themselves and installs it with the wrong number of winding turns, the door may appear to work. Months later, the opener motor burns out because it’s been lifting an unbalanced door or a cable snaps because it’s been carrying excess load. The insurance company will cover those damages if they’re caused by a covered peril, but there’s no covered peril here. It’s improper installation, and the claim gets denied. The homeowner is then out of pocket for the opener, the cables, and the professional spring correction.
Carmel Valley homeowners have the same insurance landscape as the rest of California, but the housing stock tends to be newer than in some older coastal communities, which means more doors with modern torsion systems and more openers with smart-home integration. When those systems fail, the repair costs are higher, and the insurance questions get more pointed.
The practical takeaway: your insurance is there for accidents and sudden damage. It’s not there to subsidize a repair gone wrong. The decision to hire a professional for spring and cable work isn’t just about safety. It’s about keeping your insurance position clean if something goes sideways later.
When a $15 DIY Fix Becomes a $900 Professional Repair
The most expensive garage door repairs in Carmel Valley are not the ones that start as emergencies, as detailed in our Garage Door Cost Breakdown: The Carmel Valley Homeowner’s Reference for 2026. They’re the ones that start as small DIY projects and compound. Here’s what that looks like in practice, based on the service patterns we see in this region.
The Lubrication Error: WD-40 on the Tracks
A homeowner notices the door squeaking. They grab a can of WD-40 and spray the tracks, the rollers, the hinges, everything. The squeak goes away for a week. Then it comes back louder, because the WD-40 stripped away the remaining lubricant and left the metal dry. Now the rollers are grinding against the track. The homeowner sprays more WD-40. The cycle repeats until the roller bearings seize and the roller flattens on one side. Now the door drags, the opener strains, and the homeowner calls us. A $12 tube of proper lithium grease would have prevented this. Instead, the repair requires new rollers, possibly new hinges, and in some cases a new opener motor.
The Sensor Adjustment Error: Bypassing Instead of Aligning
When a door won’t close because a sensor is misaligned, some homeowners look for a workaround instead of a fix. They tape the sensors together, or they wire the sensors out of the circuit. The door now closes. But it also closes on anything in its path, including a car bumper, a child’s bicycle, or a child. If the door closes on a vehicle and damages it, the homeowner’s auto insurance may cover it, but the garage door repair will not be covered by anyone. And if a child is injured, the liability question becomes very serious. The correct fix takes five minutes and costs nothing. The workaround creates a permanent safety hazard.
The Panel Replacement Error: Patching Instead of Replacing
When a door panel gets dented, usually by a car in the driveway, some homeowners attempt a DIY patch with epoxy or a sheet-metal repair. The patch never matches the door’s finish. It adds weight to the panel, which throws off the door’s balance. It flexes differently than the surrounding steel, which creates stress points that crack over time. When the patched panel eventually fails, the repair cost is higher than a single-panel replacement would have been, because the damaged panel has now compromised the adjacent panels and the hinges. On doors from manufacturers like Clopay or Amarr, a single panel replacement is often straightforward. A patch job on a damaged panel is not.
The Spring “Temporary Fix” Error
This is the most expensive mistake in the garage door world. A homeowner has a broken spring. They don’t want to pay for a replacement. They find a way to keep using the door, maybe by disconnecting the opener and lifting the door manually, an impossible task for one person with a broken spring, or by propping the door up with a 2×4. Then they try to order a spring online and install it themselves using screwdrivers as winding bars. The spring slips. The winding bar punches through the drywall. The spring unwinds violently and bends the torsion tube. The door, now unsupported, slams down and bends the track. What would have been a $350 to $500 spring replacement is now a full track replacement, torsion tube replacement, and the door needs to be reset. The final bill is three times the original repair cost.
These aren’t rare edge cases. We see them regularly across Carmel Valley. The through line is the same: a homeowner who was capable of the initial task made an error because the system’s failure mode was non-obvious. The expensive part wasn’t the mistake. It was the cascade.
Tools a Homeowner Should Own, and the One Tool They Shouldn’t
Most garage door maintenance doesn’t require specialty tools. A basic homeowner toolkit covers 90% of the legitimate DIY tasks. Here’s the full list of what you need and what you should never buy.
The Homeowner’s Garage Door Toolkit
- Lubricant: A lithium-based or silicone spray lubricant. Not WD-40. Expect to pay $10 to $15.
- Socket set: A standard 3/8-inch drive socket set covers the lag bolts, hinge bolts, and bracket hardware on most residential doors.
- Wing nut wrench or adjustable wrench: For sensor bracket adjustments.
- Level: A 24-inch level for checking track alignment.
- Step ladder: For reaching the opener unit and the upper track.
- Replacement weatherstripping: Match the profile of your existing seal.
- Replacement opener batteries: Most openers use A23, CR2032, or 9-volt batteries depending on the remote.
That’s it. With these tools, you can lubricate the door, align the sensors, replace the weatherstripping, and keep your remotes working. You can do all of that safely and correctly without any specialized training. Browse our more guides & resources for additional homeowner tips.
The Tool to Never Buy: A Pair of Winding Bars
Winding bars are the two steel rods used to tension a torsion spring. They’re sold online for around $20 to $30. Some retailers sell them alongside garage door parts with no warning at all. Here’s the thing: owning winding bars does not make you capable of winding a spring, any more than owning a scalpel makes you capable of performing surgery. But owning them changes your behavior. The moment you have the tool, the job looks more accessible. The barrier between “I shouldn’t do this” and “I’ll just be careful” shrinks.
The correct winding bars for a given spring diameter are not universal. A bar that’s too small for the cone socket will slip. A bar that’s too large won’t seat properly. The sequence of insertion, quarter-turn advancement, and bar removal is specific and unforgiving. A single mistake in that sequence is the difference between a successful repair and a projectile.
Our advice to Carmel Valley homeowners is straightforward: don’t buy winding bars. If you own a pair already, throw them away. The $25 you’ll save on tools is the best investment you can make in not being injured.
When spring work is needed, call someone who does it every week. Our Garage Door Opener Repair in Carmel Valley service includes full-system diagnosis, so if the spring is the culprit behind an opener that’s not working, we’ll find it and fix it correctly.
Door vs. Opener: How to Tell Which System Is Failing
One of the most common sources of confusion for homeowners is whether a problem is coming from the door itself or from the opener. They’re two separate systems, and the fix is different. Learning to distinguish them saves you time and helps you describe the problem accurately when you call for service.
How to Test the Door Independently
- Pull the red emergency release cord hanging from the opener rail. This disconnects the door from the opener carriage.
- Lift the door manually by the handle or the bottom edge. It should lift smoothly with moderate effort, about 10 to 15 pounds of force.
- Lift the door to waist height and let go. A properly balanced door will stay in place or drift very slowly. A door that slams down or shoots up has a spring problem.
- Close the door manually and re-engage the opener by pulling the release cord again or running the opener until it reconnects.
If the door is heavy, slams, or won’t stay up, the problem is in the door system: springs, cables, rollers, or track alignment. That’s a mechanical repair, not an opener issue.
When the Door Is Fine But the Opener Isn’t
If the door lifts smoothly by hand but the opener won’t operate it, the problem is in the opener system. Common opener failures include:
- Stripped drive gear: The motor runs but the carriage doesn’t move. Common on older chain-drive openers.
- Logic board failure: The opener won’t respond to wall buttons or remotes. Happens after power surges, which are more common in some Carmel Valley neighborhoods during Santa Ana wind events.
- Sensor circuit failure: The opener would work, but it’s receiving a false “obstruction” signal from a faulty sensor or damaged wiring.
- Capacitor failure: The motor hums but won’t start. Requires a replacement capacitor and possibly a new motor.
We work on openers from Genie, LiftMaster, Chamberlain, Craftsman, and Raynor, plus the full mechanical door systems from Clopay, Amarr, and Wayne Dalton. That brand-agnostic approach matters because most homes in Carmel Valley have a mixed setup, a LiftMaster opener on a Clopay door, for example. When a company only services one brand, you get told your equipment isn’t supported. We don’t do that. We diagnose the system as a whole and fix what’s actually wrong.
Carmel Valley-Specific Factors: Climate, Code, and Neighborhood Context
Carmel Valley’s climate shapes garage door maintenance in ways that don’t apply to homeowners in Sacramento or San José. Here’s what that means for your decisions.
Coastal Moisture and Salt Air
Carmel Valley sits just inland from the coast, which means mornings bring marine layer moisture and afternoons bring dry heat. That daily moisture cycle accelerates corrosion on unpainted steel components, especially hinges, roller brackets, and the bottom bracket where the lift cable attaches. Homeowners here should inspect these components twice a year, and they should lubricate them more frequently than the national average. A door that would last 20 years in a dry climate may need roller replacement in 12 to 15 years here if it’s not maintained.
UV Degradation on Weatherstripping and Paint
The sun in San Diego County is intense, and Carmel Valley gets its share of exposed, south-facing garages. UV radiation breaks down rubber weatherstripping faster than any other environmental factor. A bottom seal that would last five years in Seattle will crack and harden in three years here. The same applies to painted steel doors. Doors with southern exposure will show fading and chalking faster, which is a consideration if you’re deciding between repair and replacement on an older door.
Local Building Code
Carmel Valley falls under San Diego County building regulations. Garage door installations must comply with the California Building Code, which includes specific requirements for wind load resistance in certain zones. If you live in one of the hillside communities in the eastern part of Carmel Valley, your door may be subject to higher wind load standards. A professional installer will know which door meets the code for your specific address. A homeowner ordering a door online won’t.
Neighborhood-Specific Context
Carmel Valley neighborhoods run the gamut from newer developments in Pacific Highlands Ranch and Torrey Highlands to more established communities along Carmel Valley Road. The housing stock isn’t uniform. Some homes have standard 7-foot doors. Some have 8-foot doors that require specific spring calculations and opener rail extensions. Some have carriage-house-style doors from Amarr or Wayne Dalton with specific hardware that isn’t interchangeable with big-box store parts. A knowledgeable technician will identify these variations immediately. A homeowner trying to match parts online will often get it wrong.
Common Mistakes to Avoid
- Using WD-40 as a garage door lubricant. WD-40 is a cleaner, not a lubricant. It strips existing lubrication and leaves metal surfaces unprotected, which accelerates wear on rollers and hinges. Use lithium or silicone spray instead.
- Ignoring a slowly developing balance problem. A door that gets slightly heavier every month is telling you something. The spring is losing tension or the components are wearing. Waiting until the spring snaps turns a $300 repair into an emergency call with more damage to address.
- Bypassing the photo-eye sensors instead of aligning them. Taping the sensors together or cutting the wires defeats a critical safety system. The five minutes it takes to realign them properly is time well spent.
- Replacing only one spring on a two-spring door. When one spring breaks, the other is at the end of its service life. Replacing only the broken spring means the old spring will fail soon, and the new spring will have been carrying extra load in the meantime.
- Buying parts online without verifying the exact model. Garage door components are not universal. A spring with the wrong wire gauge, a roller with the wrong stem length, or a weatherstrip with the wrong profile will fail quickly or not fit at all. On doors from manufacturers like Genie, Clopay, Amarr, or Wayne Dalton, matching the exact part number matters.
- Attempting any spring or cable work with improvised tools. Screwdrivers, pry bars, and rebar are not winding bars. They slip, and the spring releases its energy into whatever is holding it. Never attempt this.
- Ignoring the door’s balance after a DIY repair. If you’ve replaced rollers, tightened hardware, or made any adjustment, test the door’s balance by disconnecting the opener and lifting the door manually. A door that’s too heavy or too light is a warning sign that something else is wrong.
When to Call a Professional
Call a professional when the job involves a torsion spring, a lift cable, or a door that has come off its tracks. This isn’t a preference. It’s a safety boundary. If your door is making a loud bang, that’s usually a spring breaking. If the door is crooked in the opening, that’s usually a cable or track problem. If the door is heavy when you lift it manually, the spring has failed or lost tension. Any of these conditions warrants a call to a company that does this work every day.
You should also call when a repair requires special tools you don’t own, or when the proper repair requires matching parts you can’t identify confidently. Bluewater Garage Door Service offers free estimates in Carmel Valley. Call (833) 349-4780 and we’ll give you a straight answer about what’s wrong and what it costs.
Frequently Asked Questions
Yes, lubrication is a safe DIY task as long as you use the right product, a lithium-based or silicone spray, and you stay away from the springs and cables. You’ll want to lubricate twice a year in Carmel Valley because the coastal moisture accelerates rust on unpainted metal parts. Call (833) 349-4780 if you notice grinding or squealing that doesn’t resolve with lubrication, it may indicate worn rollers that need replacement.
Professional torsion spring replacement in the Carmel Valley area typically runs between $280 and $450 for a single spring and $380 to $650 for a pair, depending on spring size door weight, and accessibility. The price is quoted and agreed before any work starts. Call (833) 349-4780 for an exact quote, estimates are free.
No, at Bluewater Garage Door Service the price is quoted and agreed before any work starts. If the initial diagnosis reveals additional issues, we’ll show you the problem and provide a separate quote for your approval before proceeding. Call (833) 349-4780 to schedule a free estimate.
Technically yes, if you’re replacing an existing opener with the same model or a compatible one from the same brand, and you’re comfortable with basic wiring and programming. However, if the opener is paired with a smart-home system like myQ or includes integrated camera or battery-backup features, the programming can get complicated quickly. We handle opener repair and replacement for LiftMaster, Chamberlain, Genie, Craftsman, and Raynor units, so call (833) 349-4780 if you’d rather have it done right the first time.
The most common issue we see in Carmel Valley is spring failure due to normal wear, followed closely by opener drive gear failure. Coastal humidity and the daily temperature swing between foggy mornings and hot afternoons contribute to metal fatigue on springs. A spring that’s 10 to 12 years old is on borrowed time. Call (833) 349-4780 for a spring inspection, estimates are free.
Yes, our service vehicles carry a full inventory of common springs, cables, rollers, hinges, and emergency release kits, plus a range of opener parts. Most repairs in Carmel Valley are completed in a single visit. Call (833) 349-4780 for a same-day appointment.
The Bottom Line
The DIY-vs-professional decision for your garage door comes down to stored energy. Lubrication, sensor alignment, weatherstripping, and keypad programming are safe homeowner tasks that save money and extend the life of your door. Torsion spring and cable work are professional-only jobs, not because you lack the skill, but because the energy stored in those components makes the consequences of a mistake catastrophic. Carmel Valley’s coastal climate accelerates wear on garage door components, so inspection and maintenance matter more here than in drier inland communities. When you need professional help, one call covers the full system. Bluewater Garage Door Service handles repair, opener repair, and installation across eight major brands, with clear answers and clean work. Call (833) 349-4780 for a free estimate, the price is quoted and agreed before any work begins.
Written by the team at Bluewater Garage Door Service, serving Carmel Valley since 2013.
See the difference
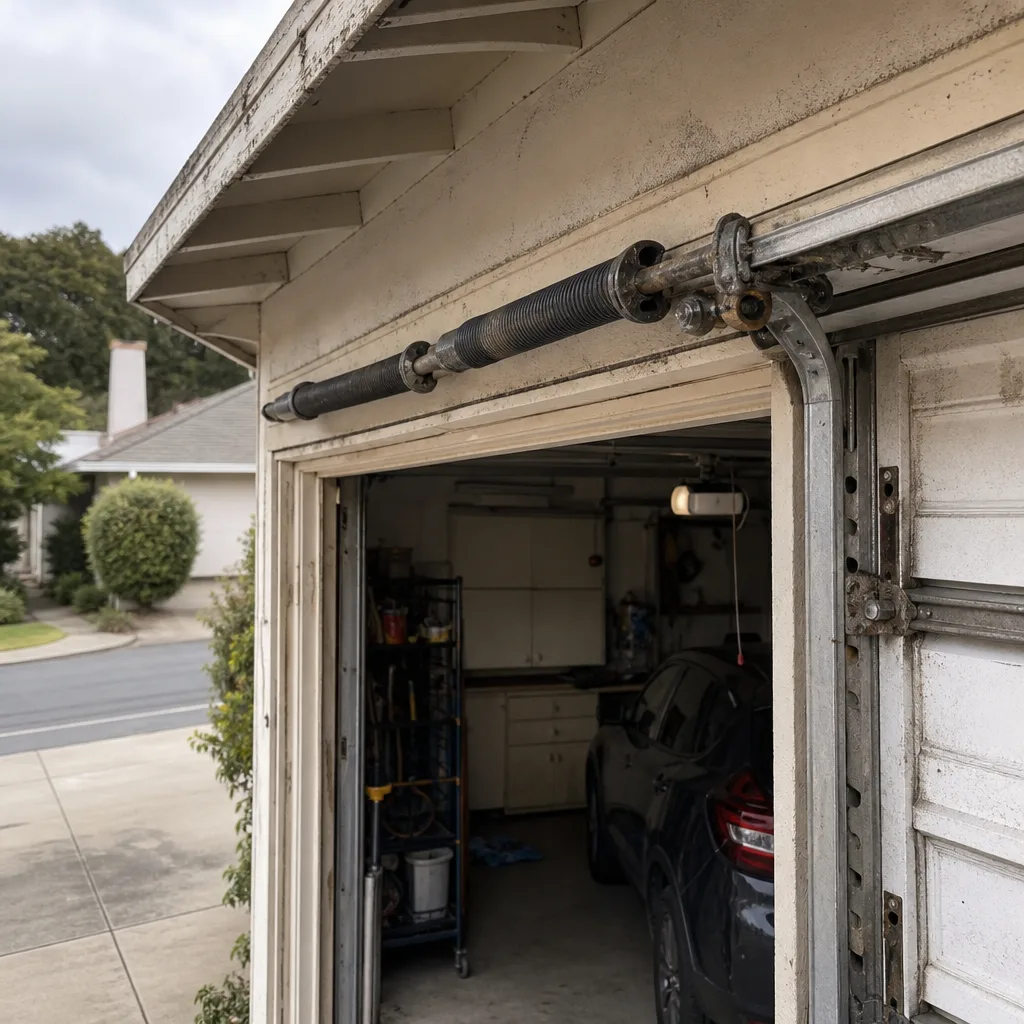 Before
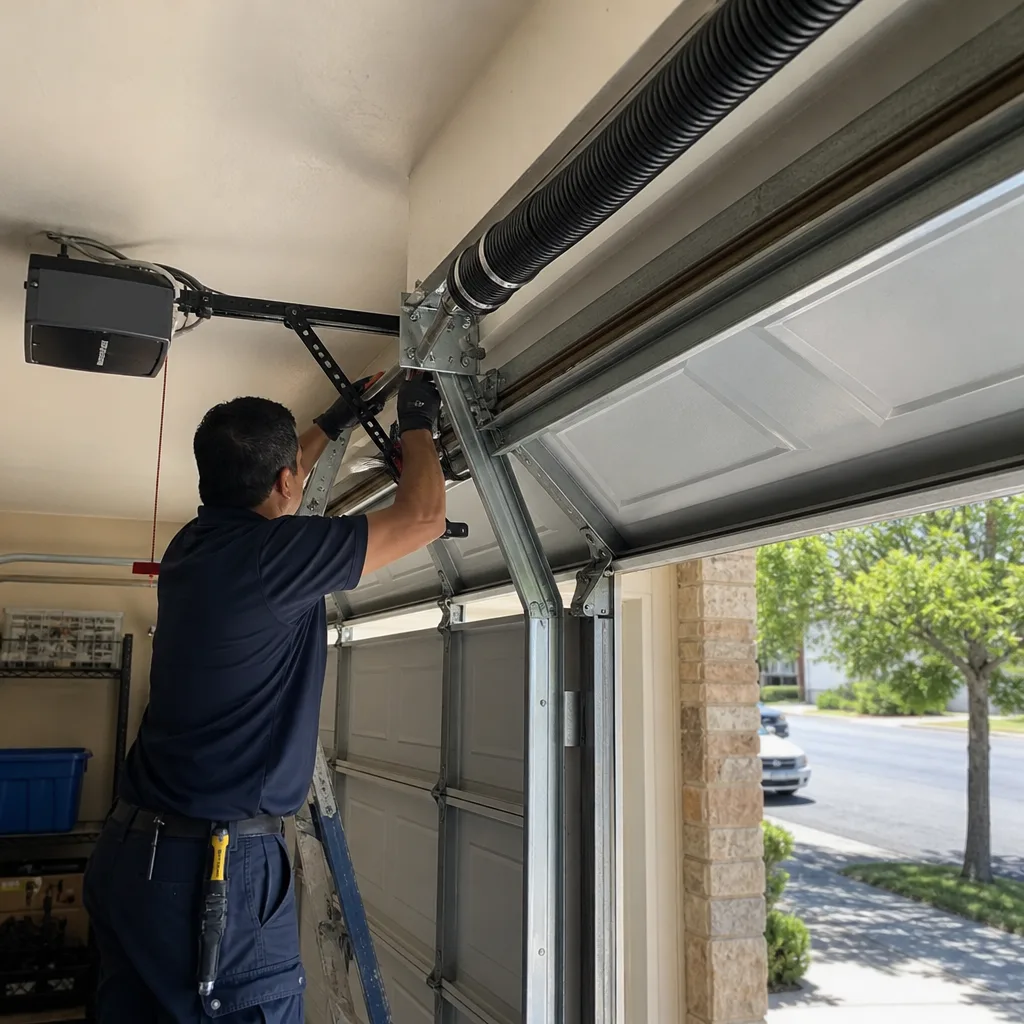 After
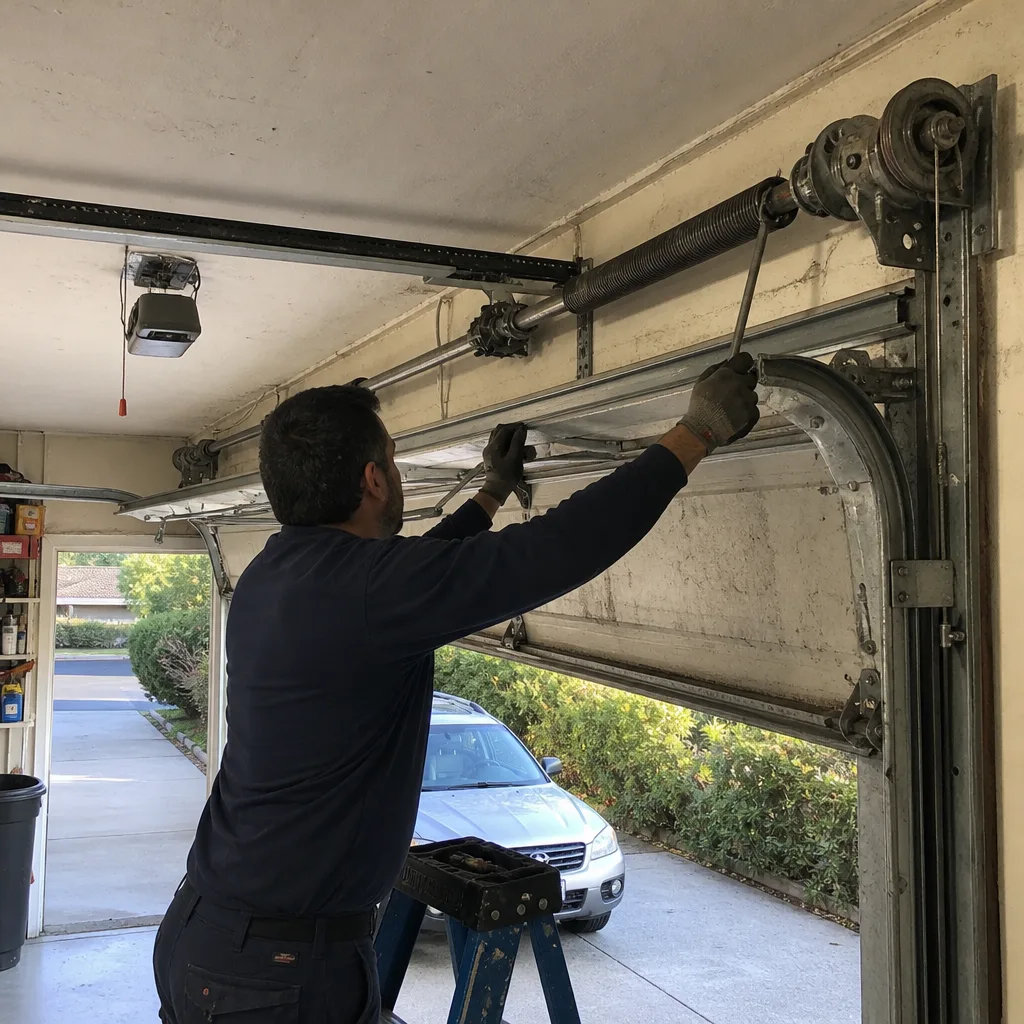 Before
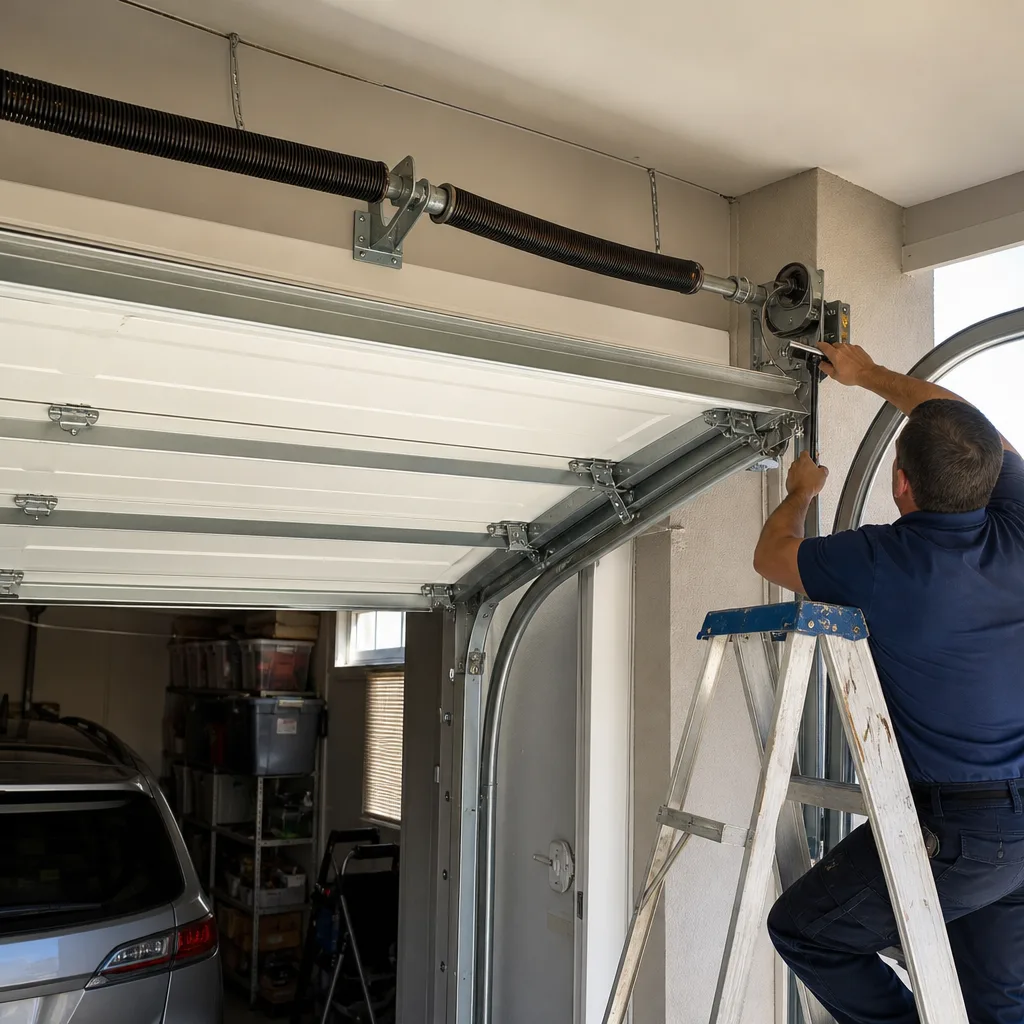 After
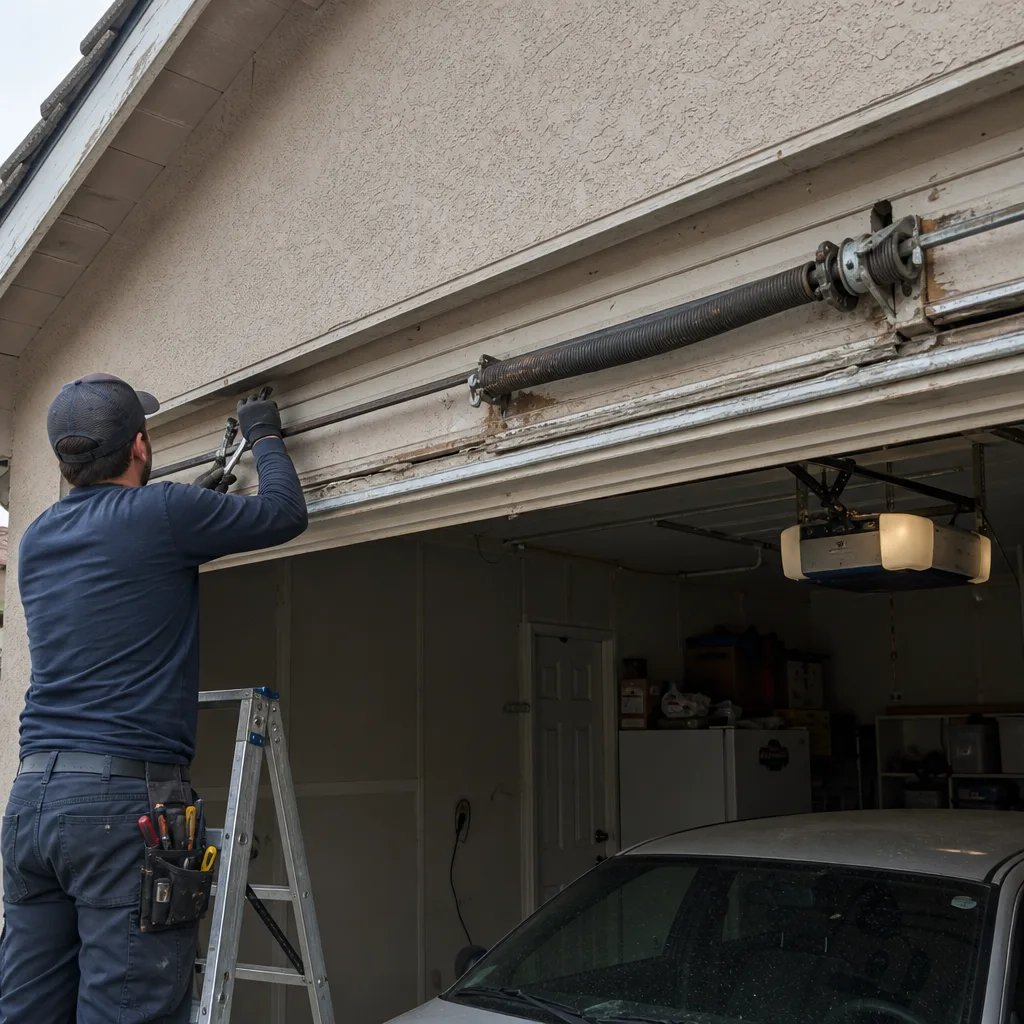 Before
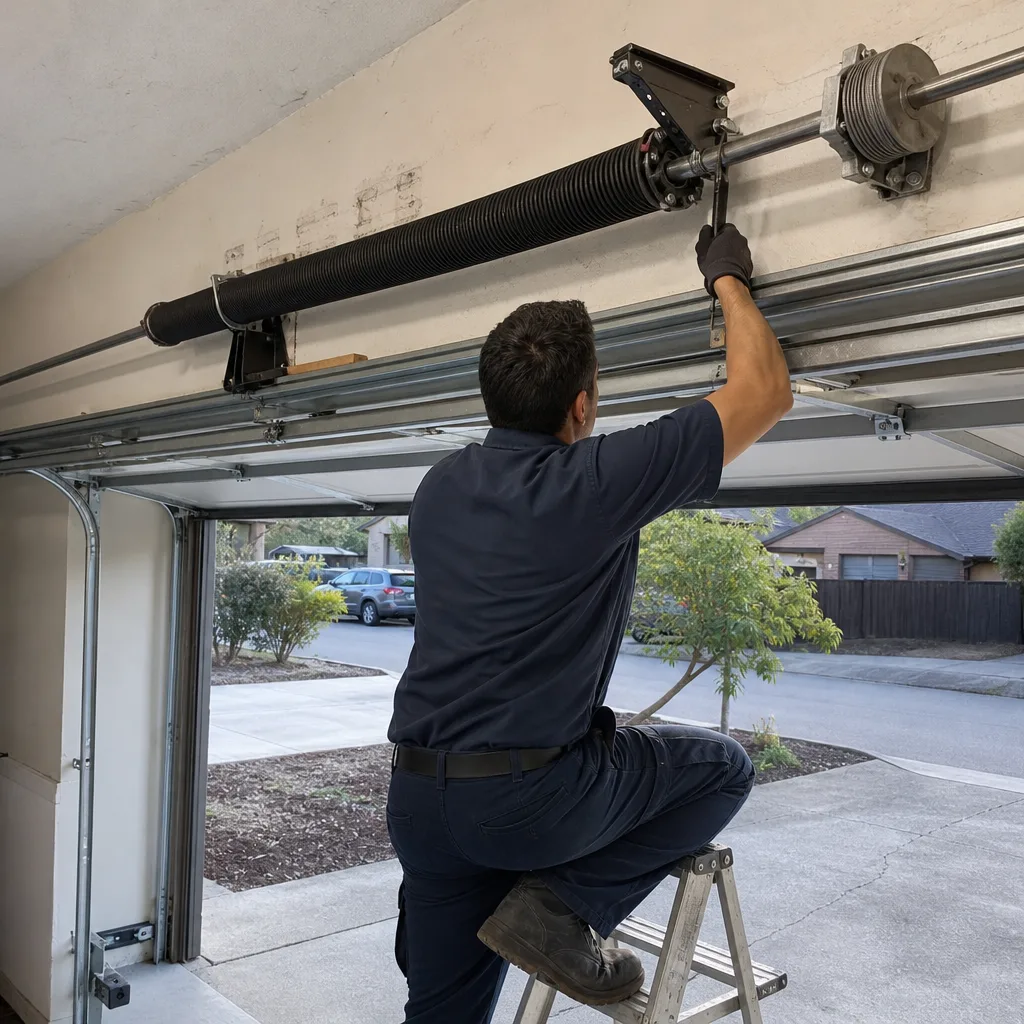 After